Creating a Garden Bed (Your Veggies Will Thank You!)
How and why we built our garden beds, keep your veggies safe and sound!
A few months ago, my wife and I moved into our new home in Southern California. As spring approached, we wanted to repurpose parts of our 1-acre property for succulent gardens, fruit trees, and of course vegetable gardens. After speaking with some of our neighbors, it became apparent to us that we should follow their lead and utilize raised garden beds/boxes for our veggies, rather than planting them directly in plots of soil. This blog post provides some insight into why we chose to use garden boxes for our vegetable gardens, as well as a step-by-step guide on how we went about building our first one!
Why garden beds?
When we first moved, we assumed that we’d be able to simply clear some of our land and plop vegetables directly into the soil. Both our neighbors and the internet informed us that this would yield sub-par results for the following reasons:
Gophers. These animals are quite prevalent in our area, and are known to dig underneath planted vegetables to eat/destroy the roots of the plants, effectively killing them. The garden beds we built have metal mesh under them, preventing gophers from prying their way into the organic goodness.
Weed prevention. Garden boxes combat weeds using a layer of cardboard below their topsoil, allowing plants to grow up healthily.
Soil quality. It’s easy to ensure a specific type of soil that’s best for the plants you’re cultivating when using garden beds due to the fact that the beds sit on top of the existing soil, and are filled with the dirt/compost of your choosing.
Digging. Going deep enough into the soil either to add mesh below the plants to prevent gophers from getting to them or simply to till the soil can be a very taxing task, especially in the dry climate of Southern California.
How we built ours
Now that we have some background info on why we chose to build garden beds, here’s how we built our first one!
Specifications
Size: 8’L x 4’W x 16”H
Wall material: Wood (we used douglas fir)
Floor mesh: Steel
Surrounding netting: Plastic mesh (or steel chicken wire)
Total cost: ~$77 + soil of choice
Supplies needed
$19 ($0.59/sqft)
Can either get it in small sheets, or in a roll
$48 ($3.32/ea)
Any typical 2”x4” board 8’ long will work
$3 ($0.07/ea)
$7 ($0.14/sqft)
Plastic mesh is another alternative
Cardboard boxes or paper grocery bags to line the bottom of the box
12 bags of garden soil
Note that it’s much cheaper to get soil in bulk if you can! After we spent $8/bag, we realized that in the future it’d be much more cost effective to purchase bulk soil, which would cost just $18/box rather than $96/box
Tools needed
Circular saw (or hand saw if you don’t have one)
Drill
Staple gun & staples
Wire cutters for cutting the mesh
Plastic zip ties
Instructions
Cut the wood.
To build a garden box with the above dimensions, cut some of the 8’ boards in the following lengths:
Cut 4 of the boards in half (resulting in 8 4’ boards). These will be used for 2 of the walls.
Use 3 boards to cut 6 40” pieces (resulting in 6 40” boards and 3 scap pieces). These will be used as the support beams for the walls, and as attachment anchors for the netting.
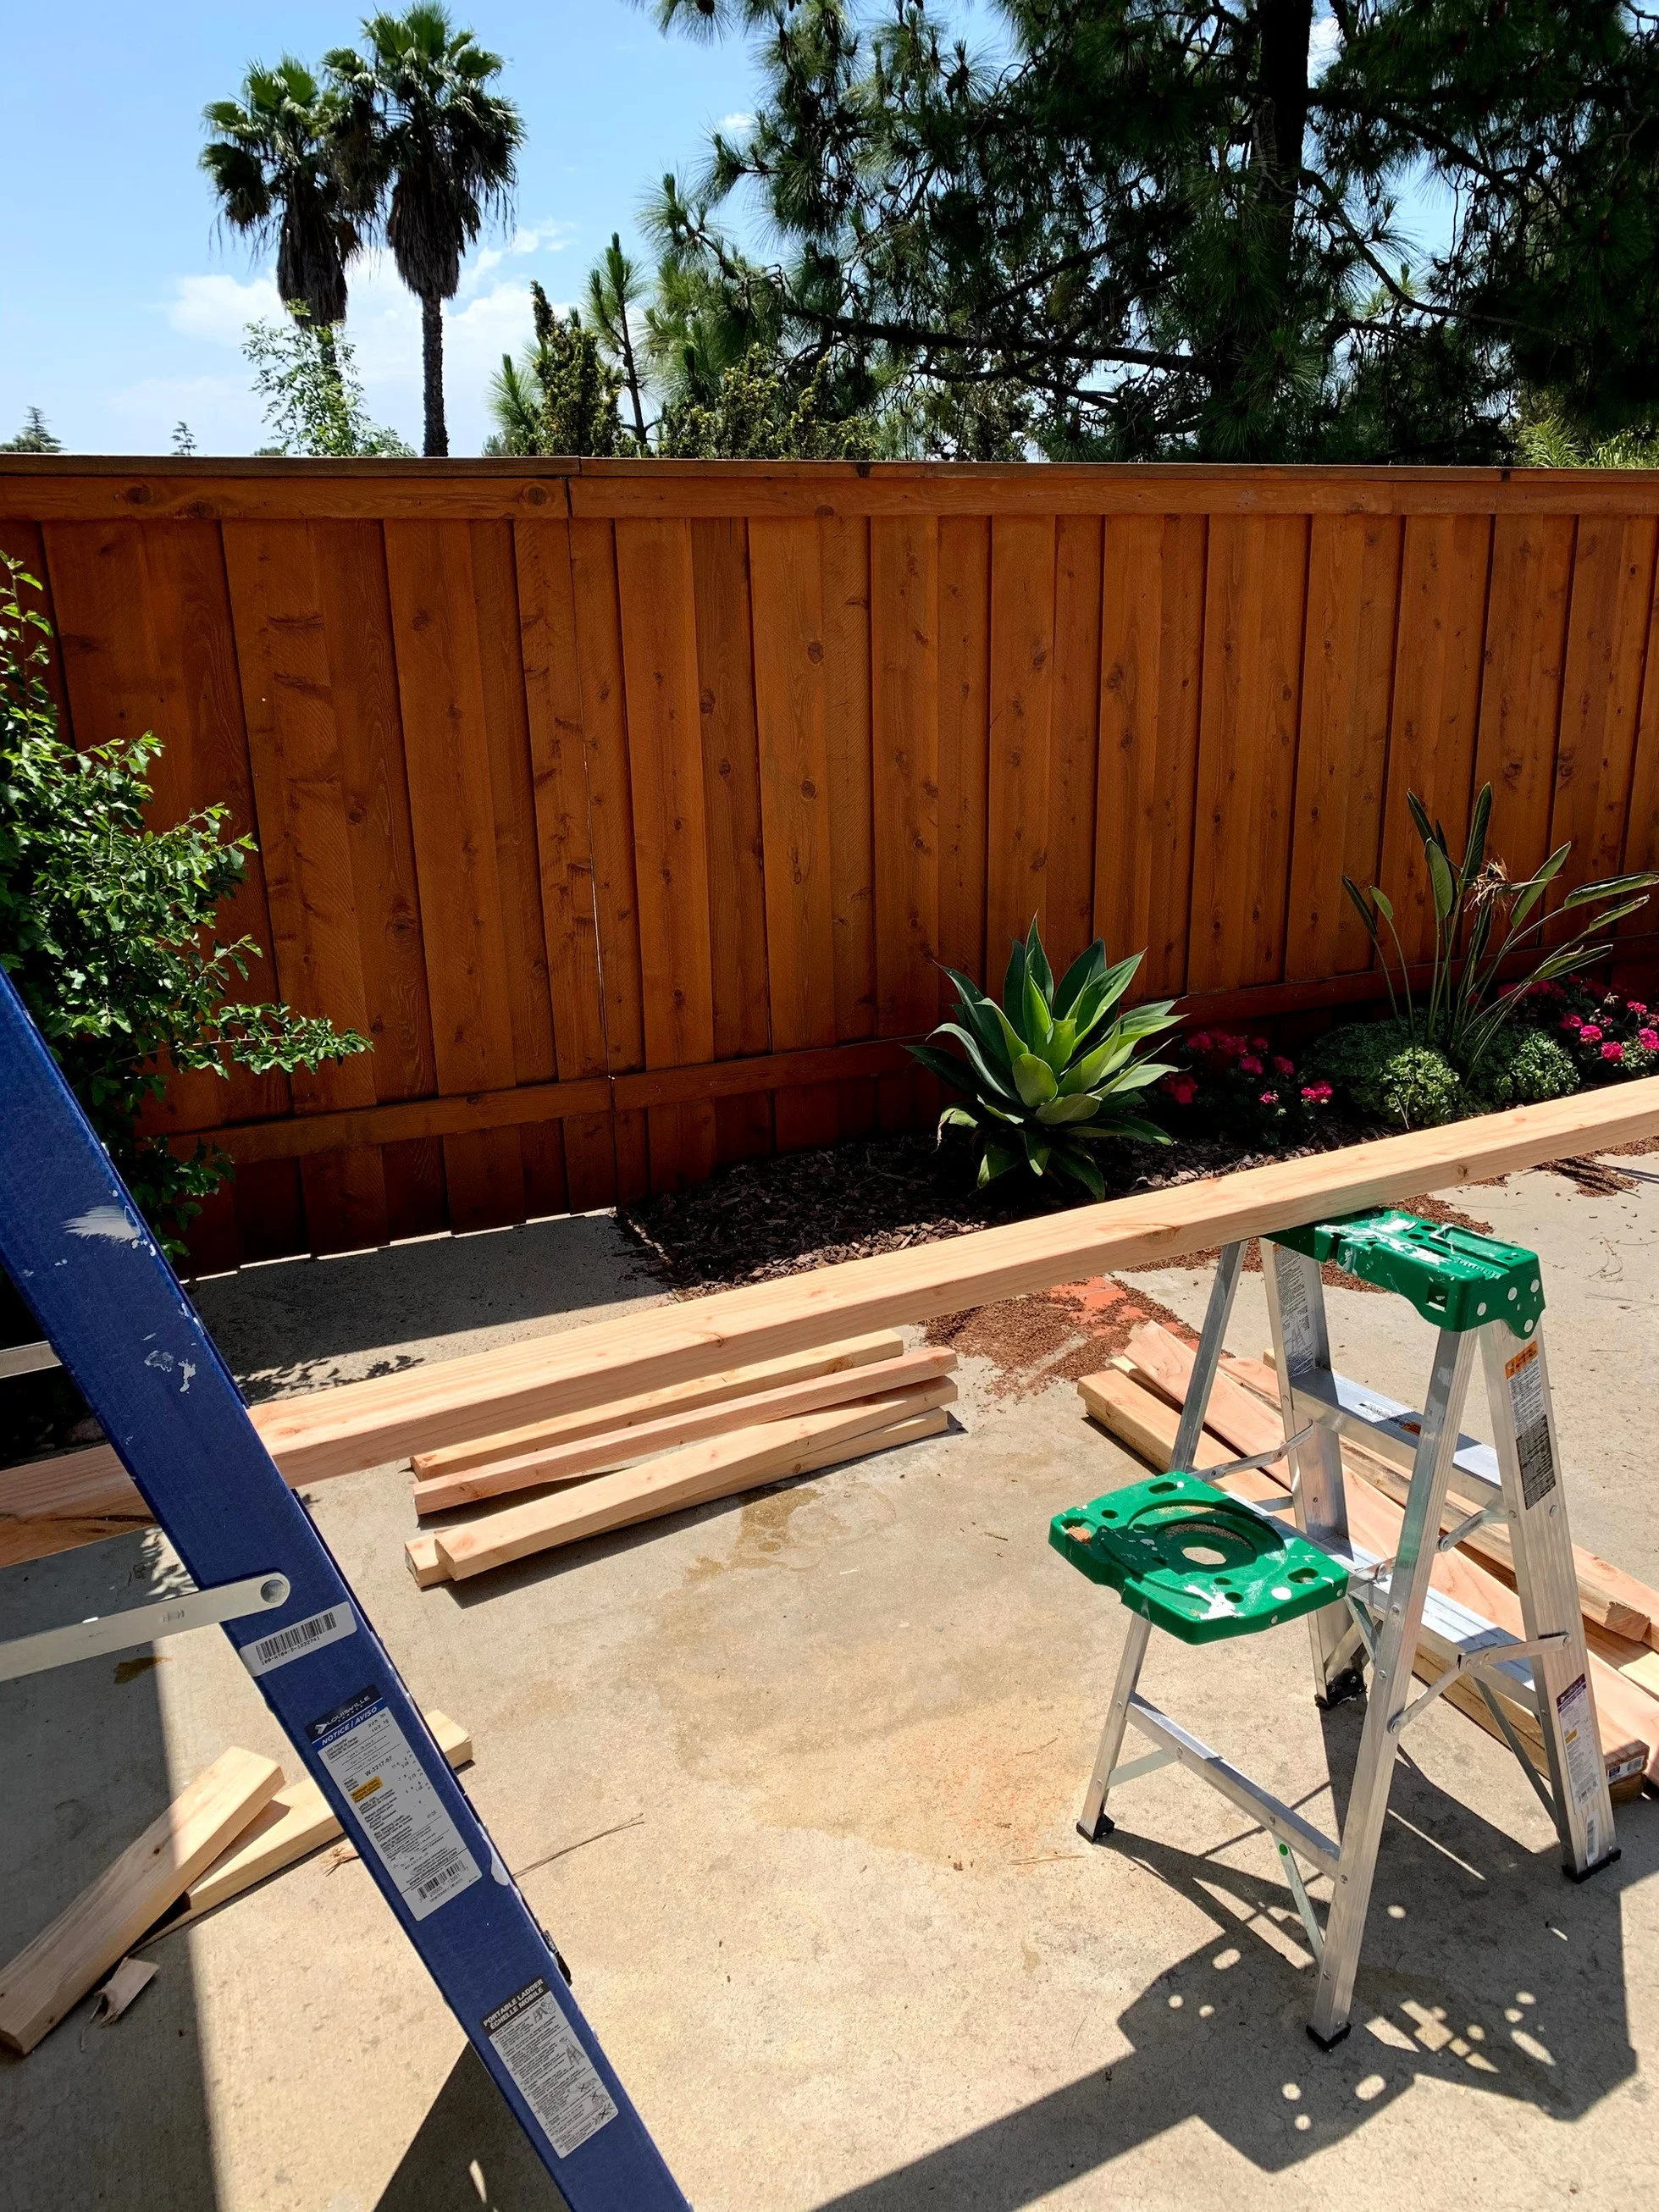
I actually don’t (yet) own a circular saw, so I ended up simply using a basic hand saw and 2 ladders as a cutting table, which did the job just fine without too much effort.
Build the 4 walls.
The next step is to build 4 separate walls: 2 4’ walls and 2 8’ walls.
Align 4 of either the 8’ or 4’ boards flat on the ground next to each other.
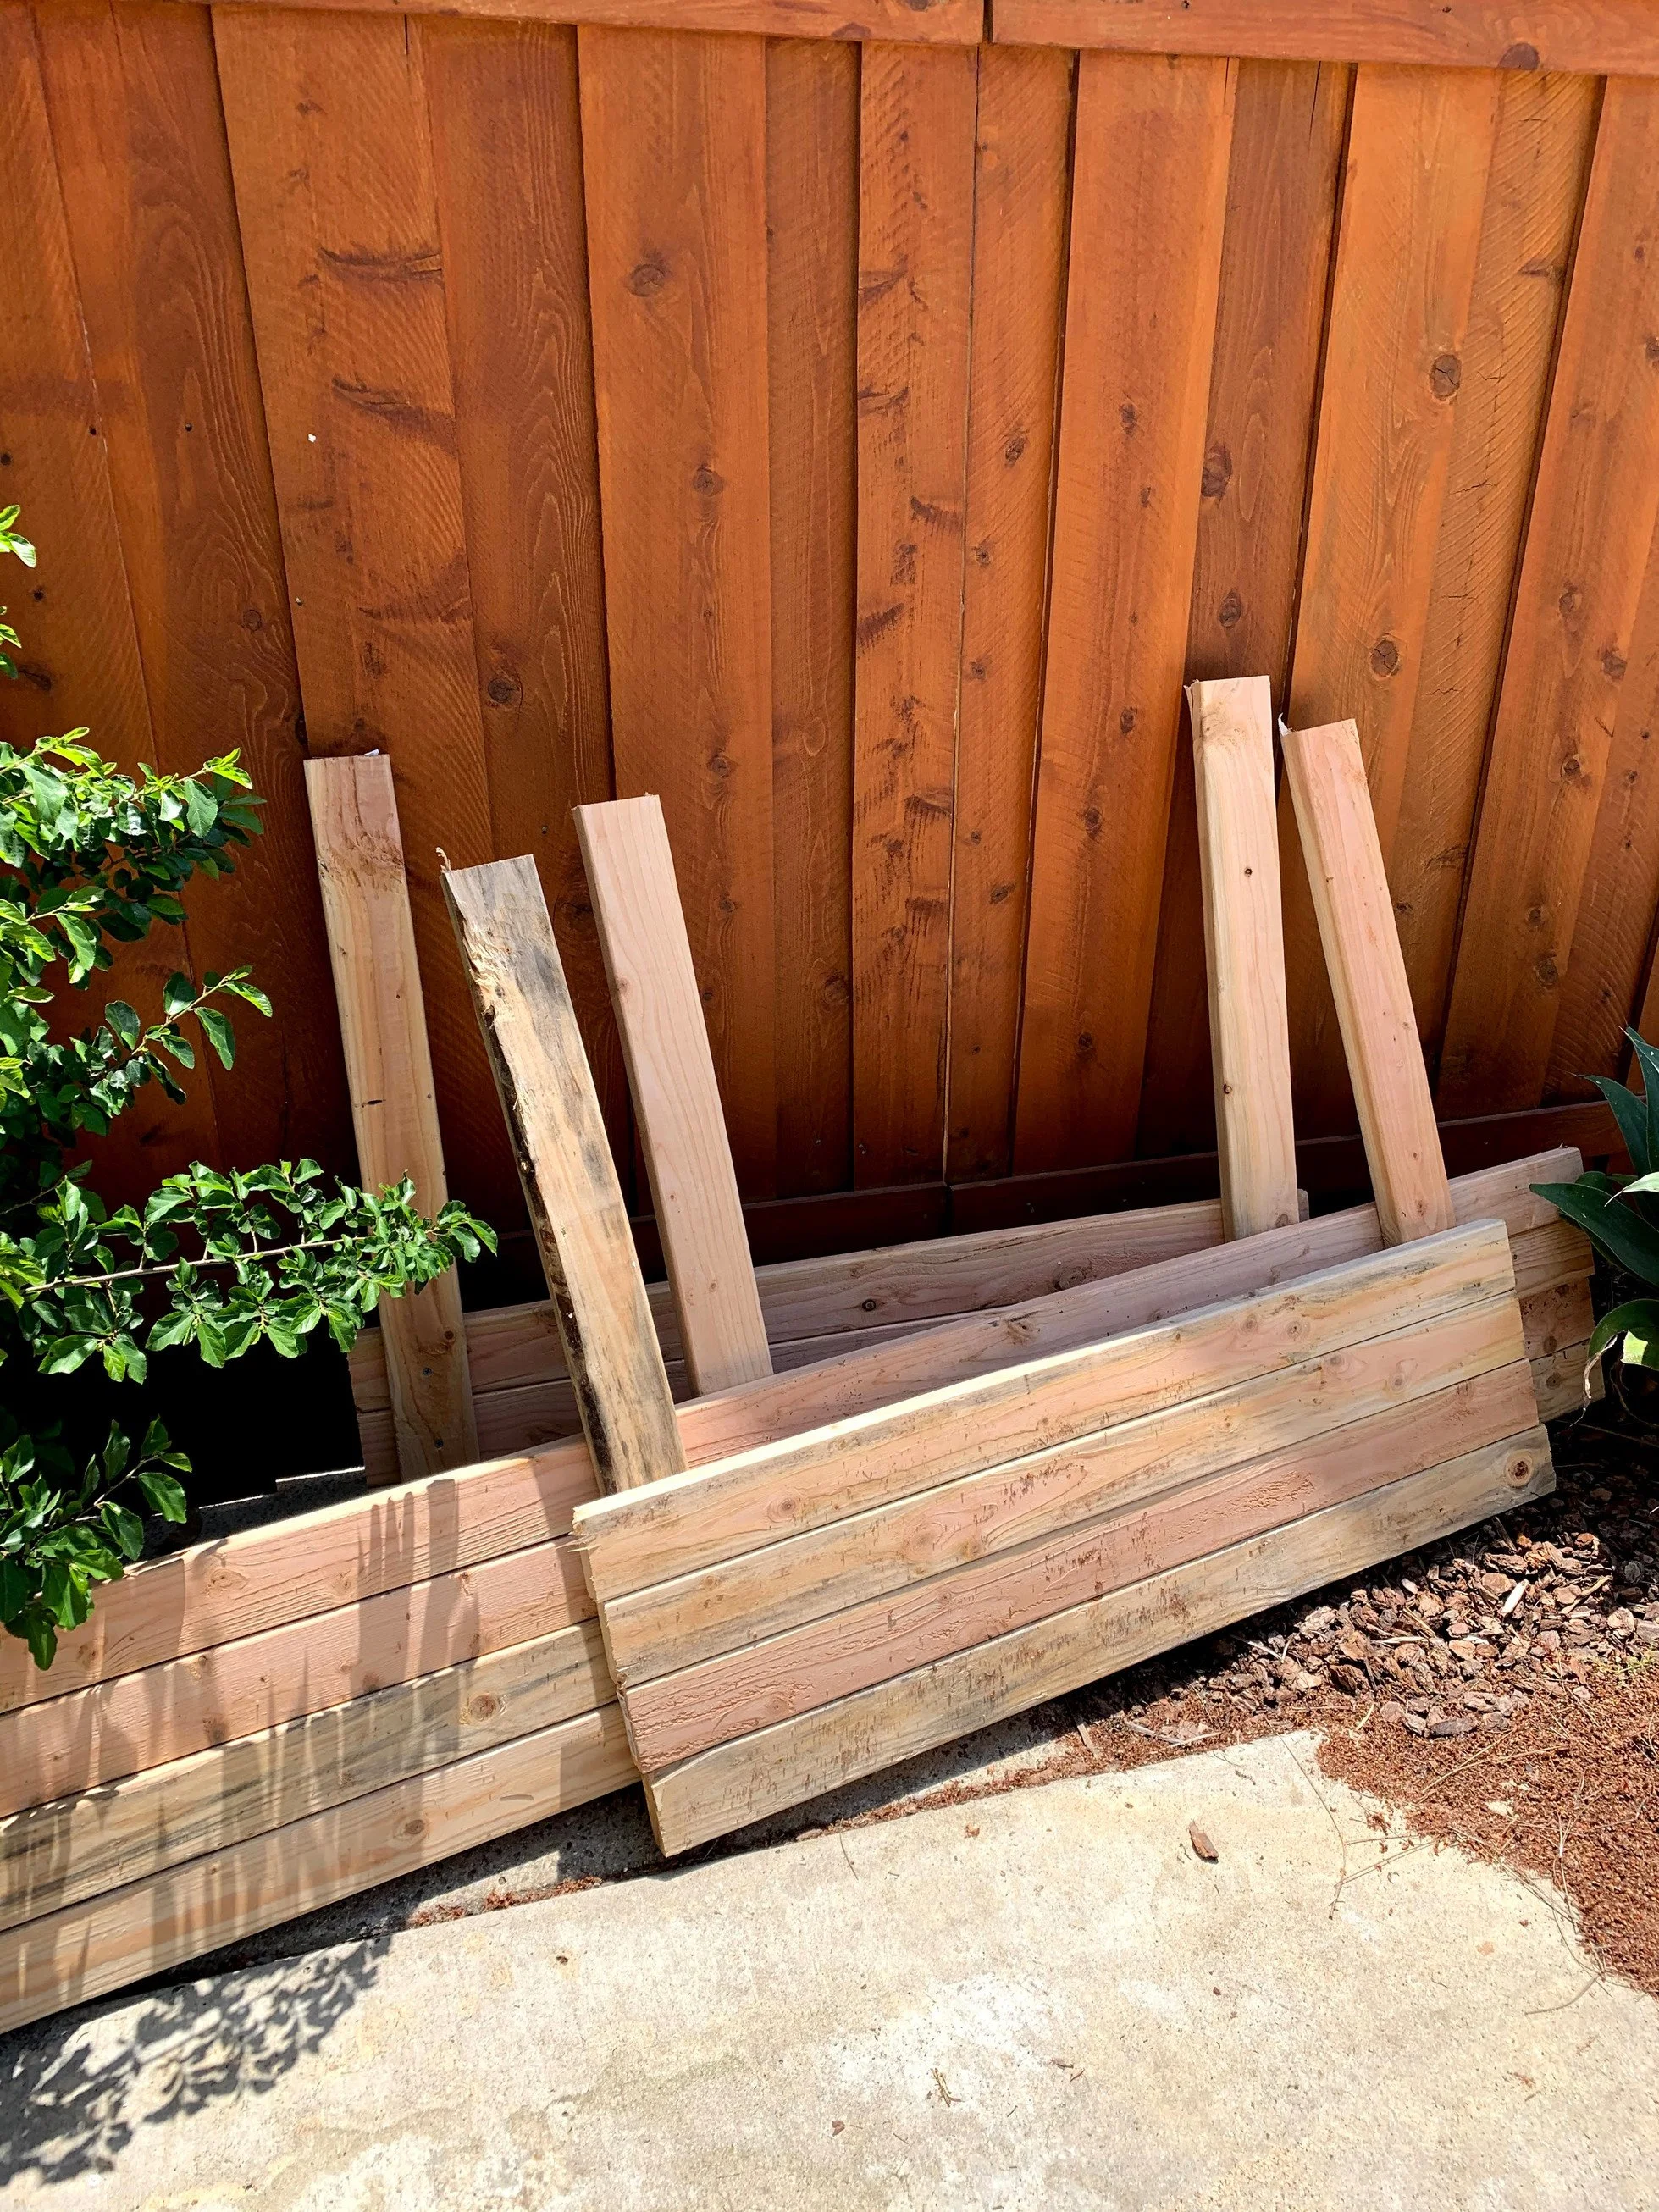
Lay one of the 60” support posts across the 4 boards. The bottom of the post should be flush with the bottom board. It should be approximately 2” (the width of the shortest part of the board) from the edge. As shown in the photos below, I simply used another board to properly place this piece. This will allow the 4 walls to fit together without having support beams collide with each other.
Using a drill, put 1 screw through the support beam into each of the 4 boards. The screw should be roughly aligned with the center of each board to prevent splitting.
When constructing the 8’ walls, add an additional support beam in the middle of the wall, and attach it with more screws.
Repeat with the other 3 walls.
Attach the walls
Once the 4 walls are ready, the next step is to put them together! My wife helped me with this step since it’s difficult to hold the walls together and maintain alignment while also drilling screws into them.
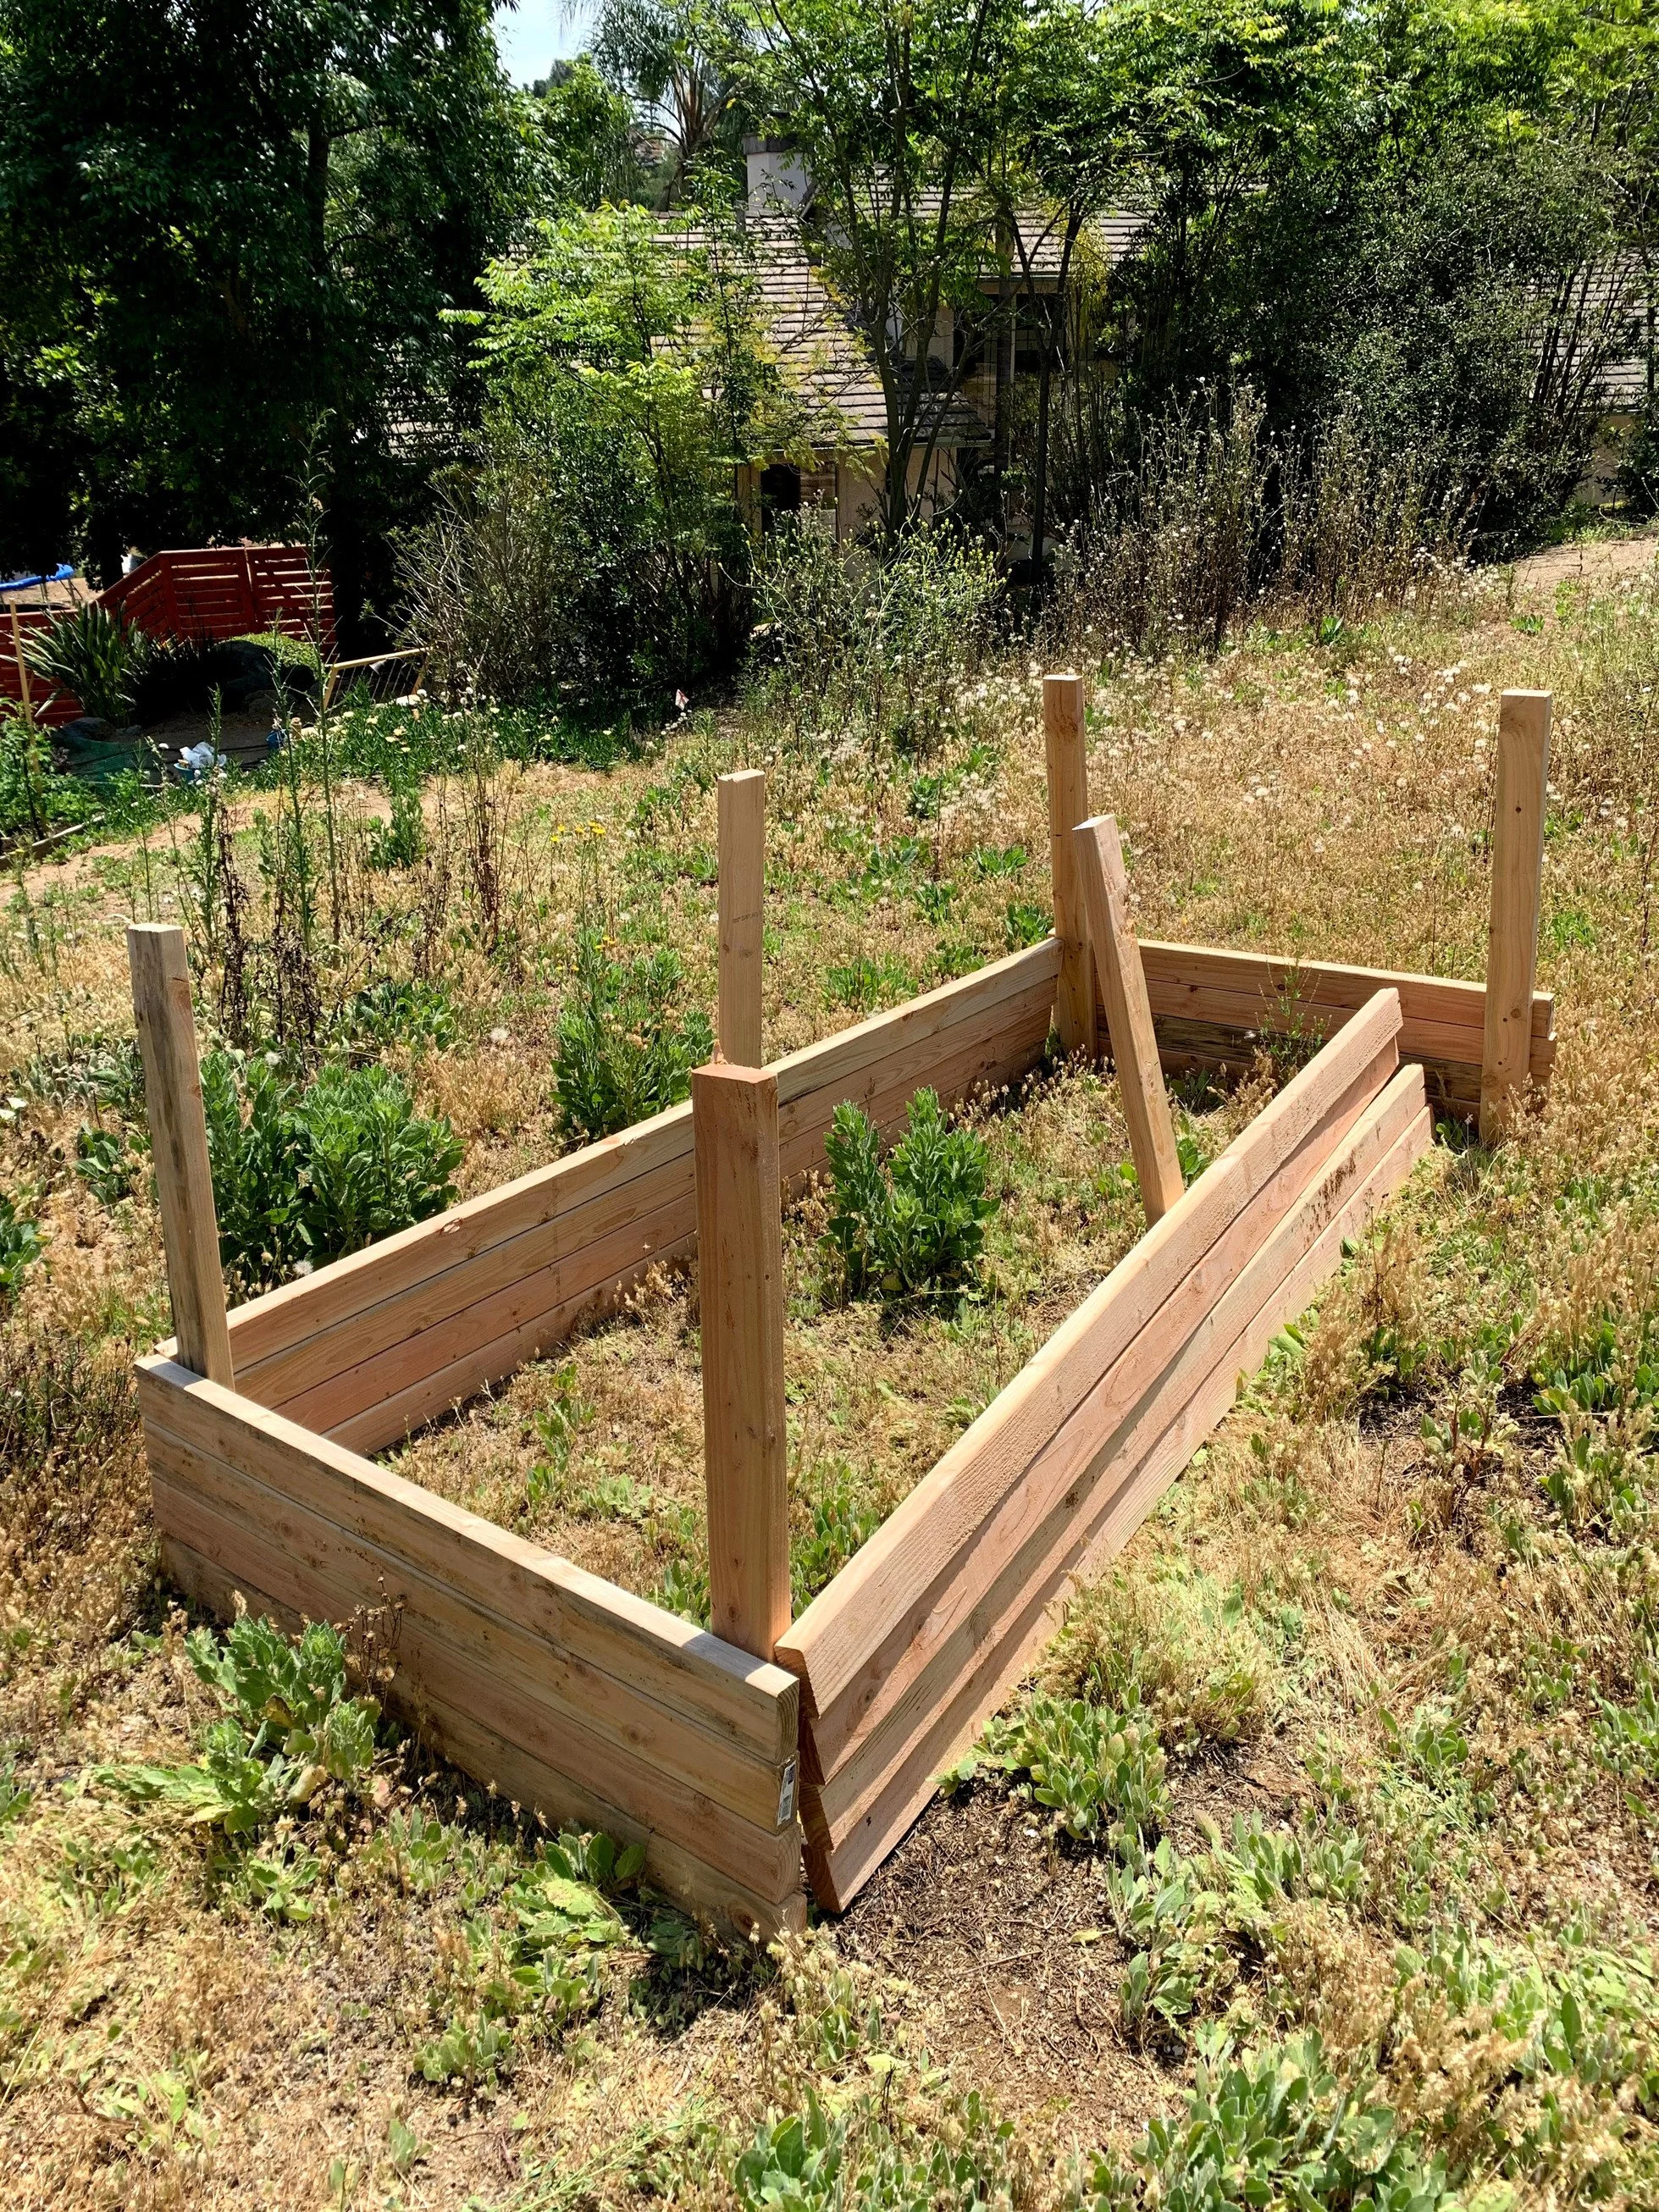
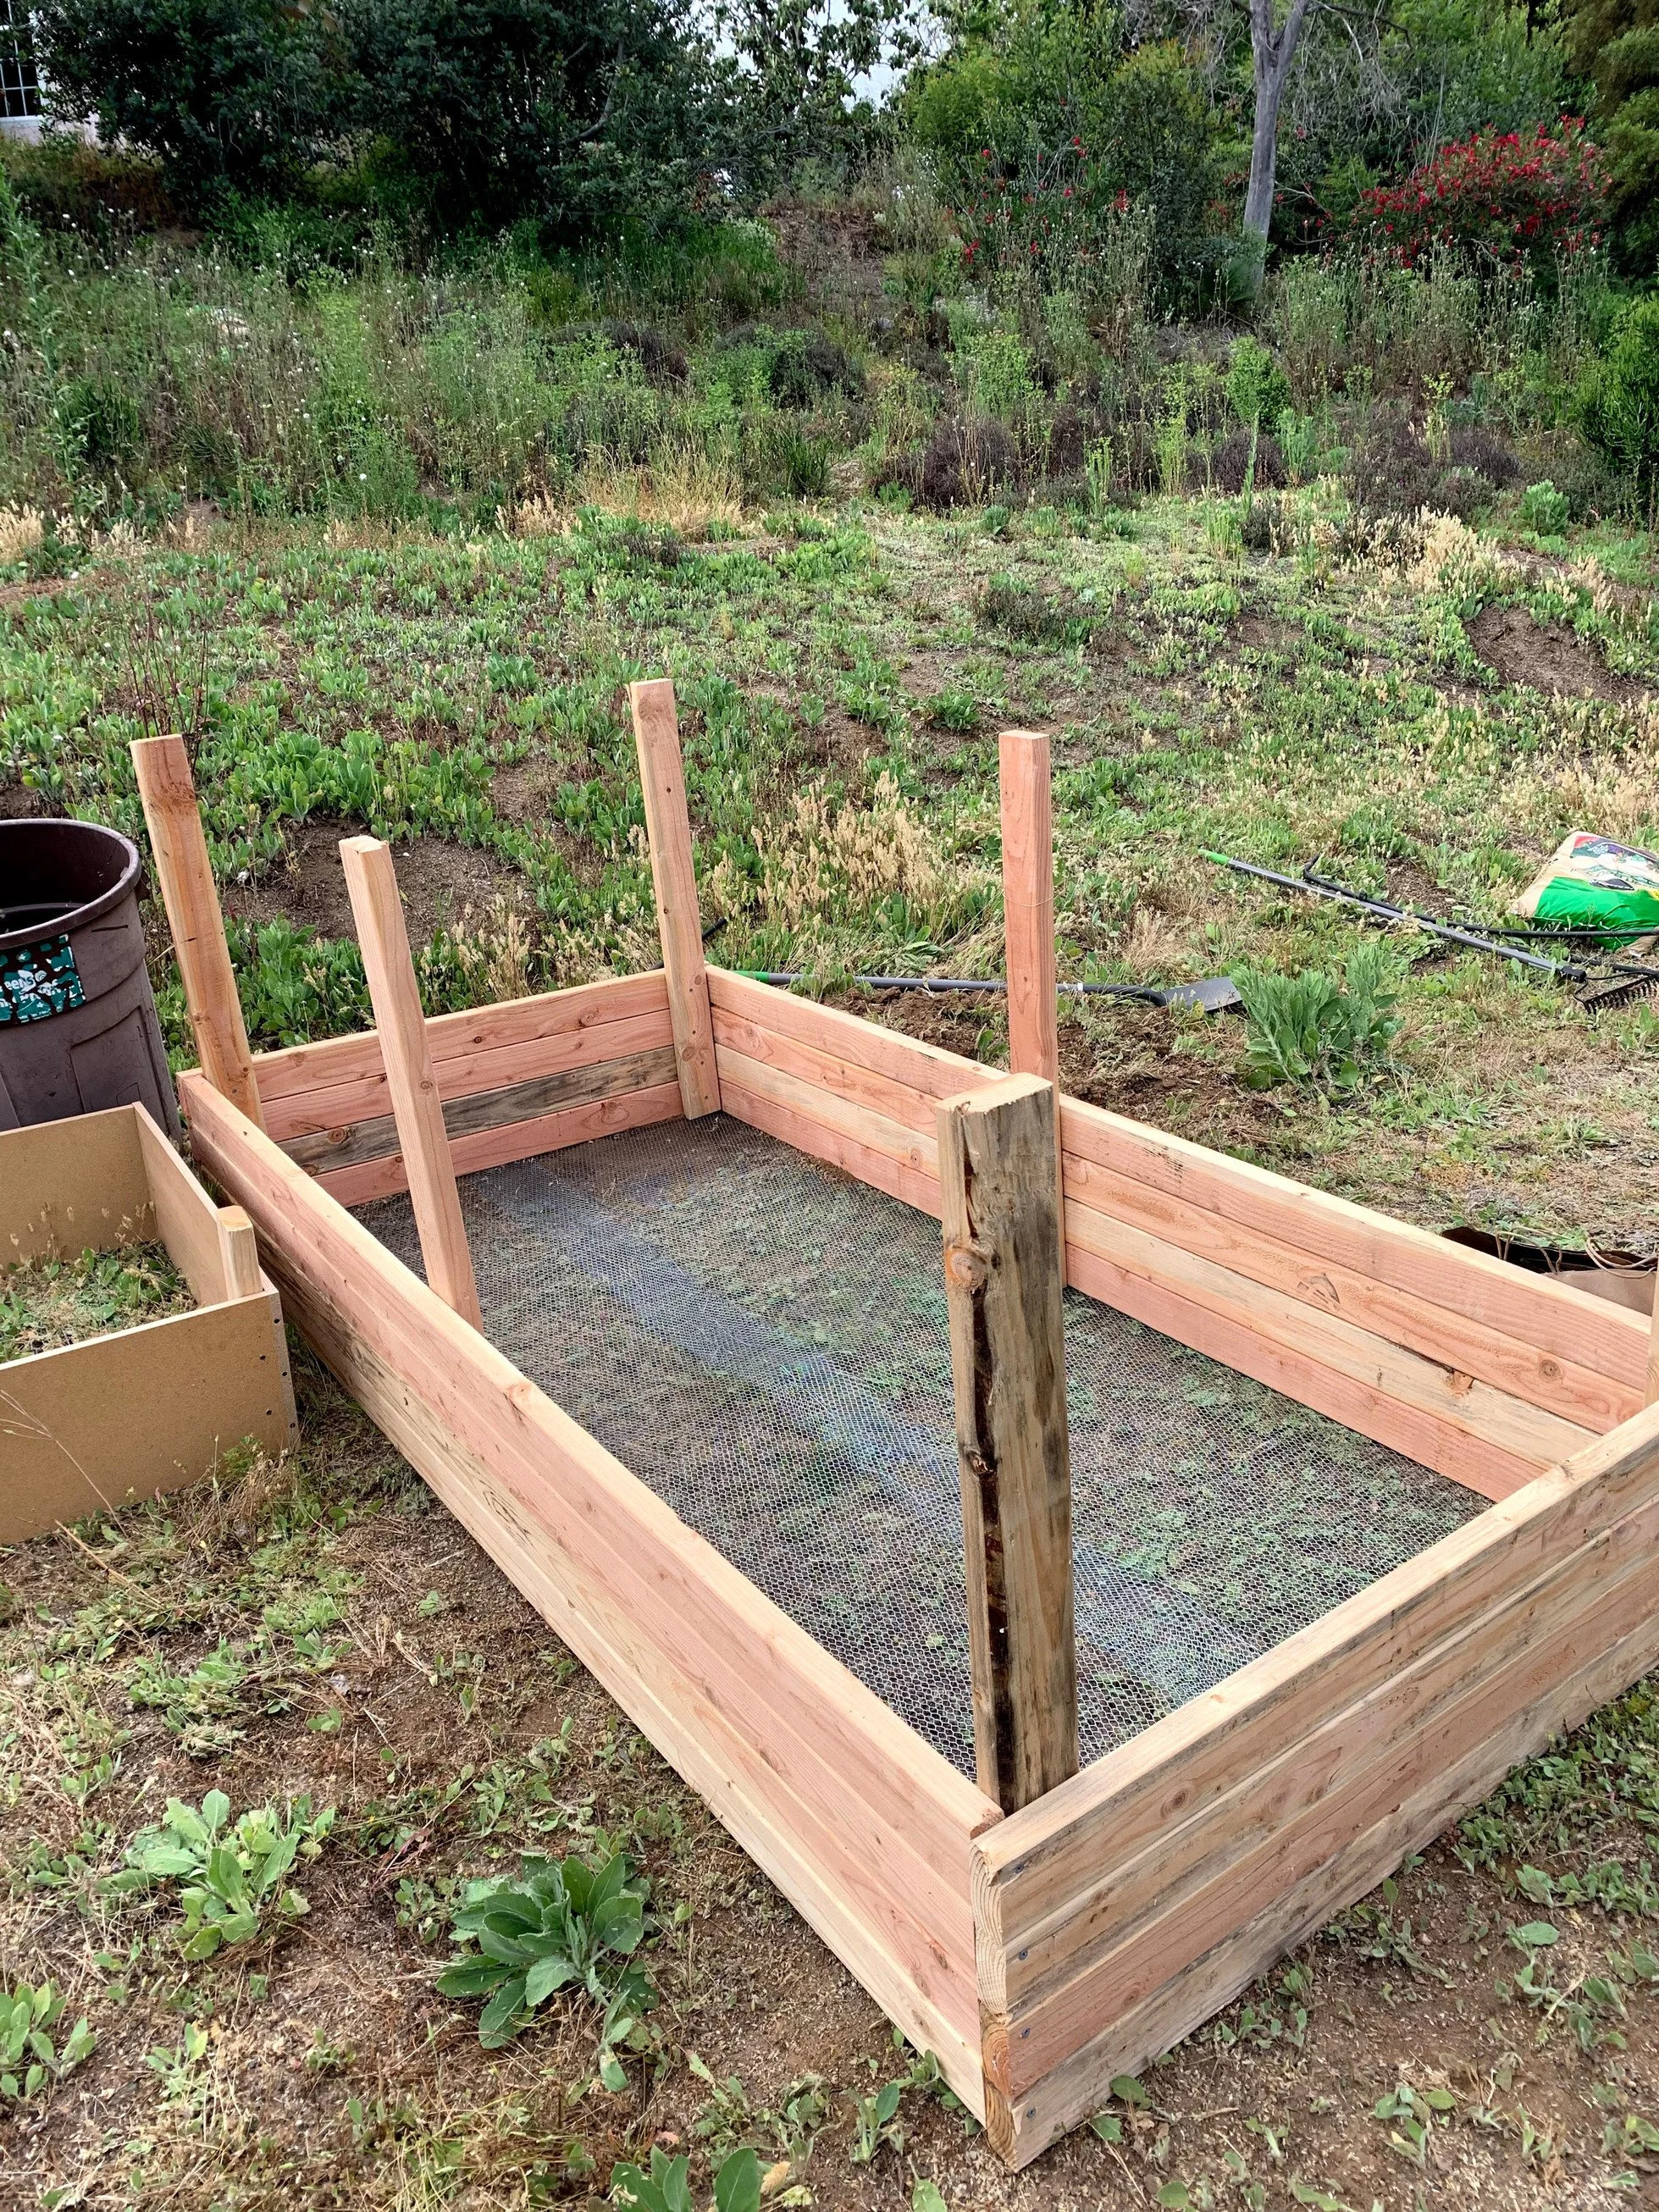
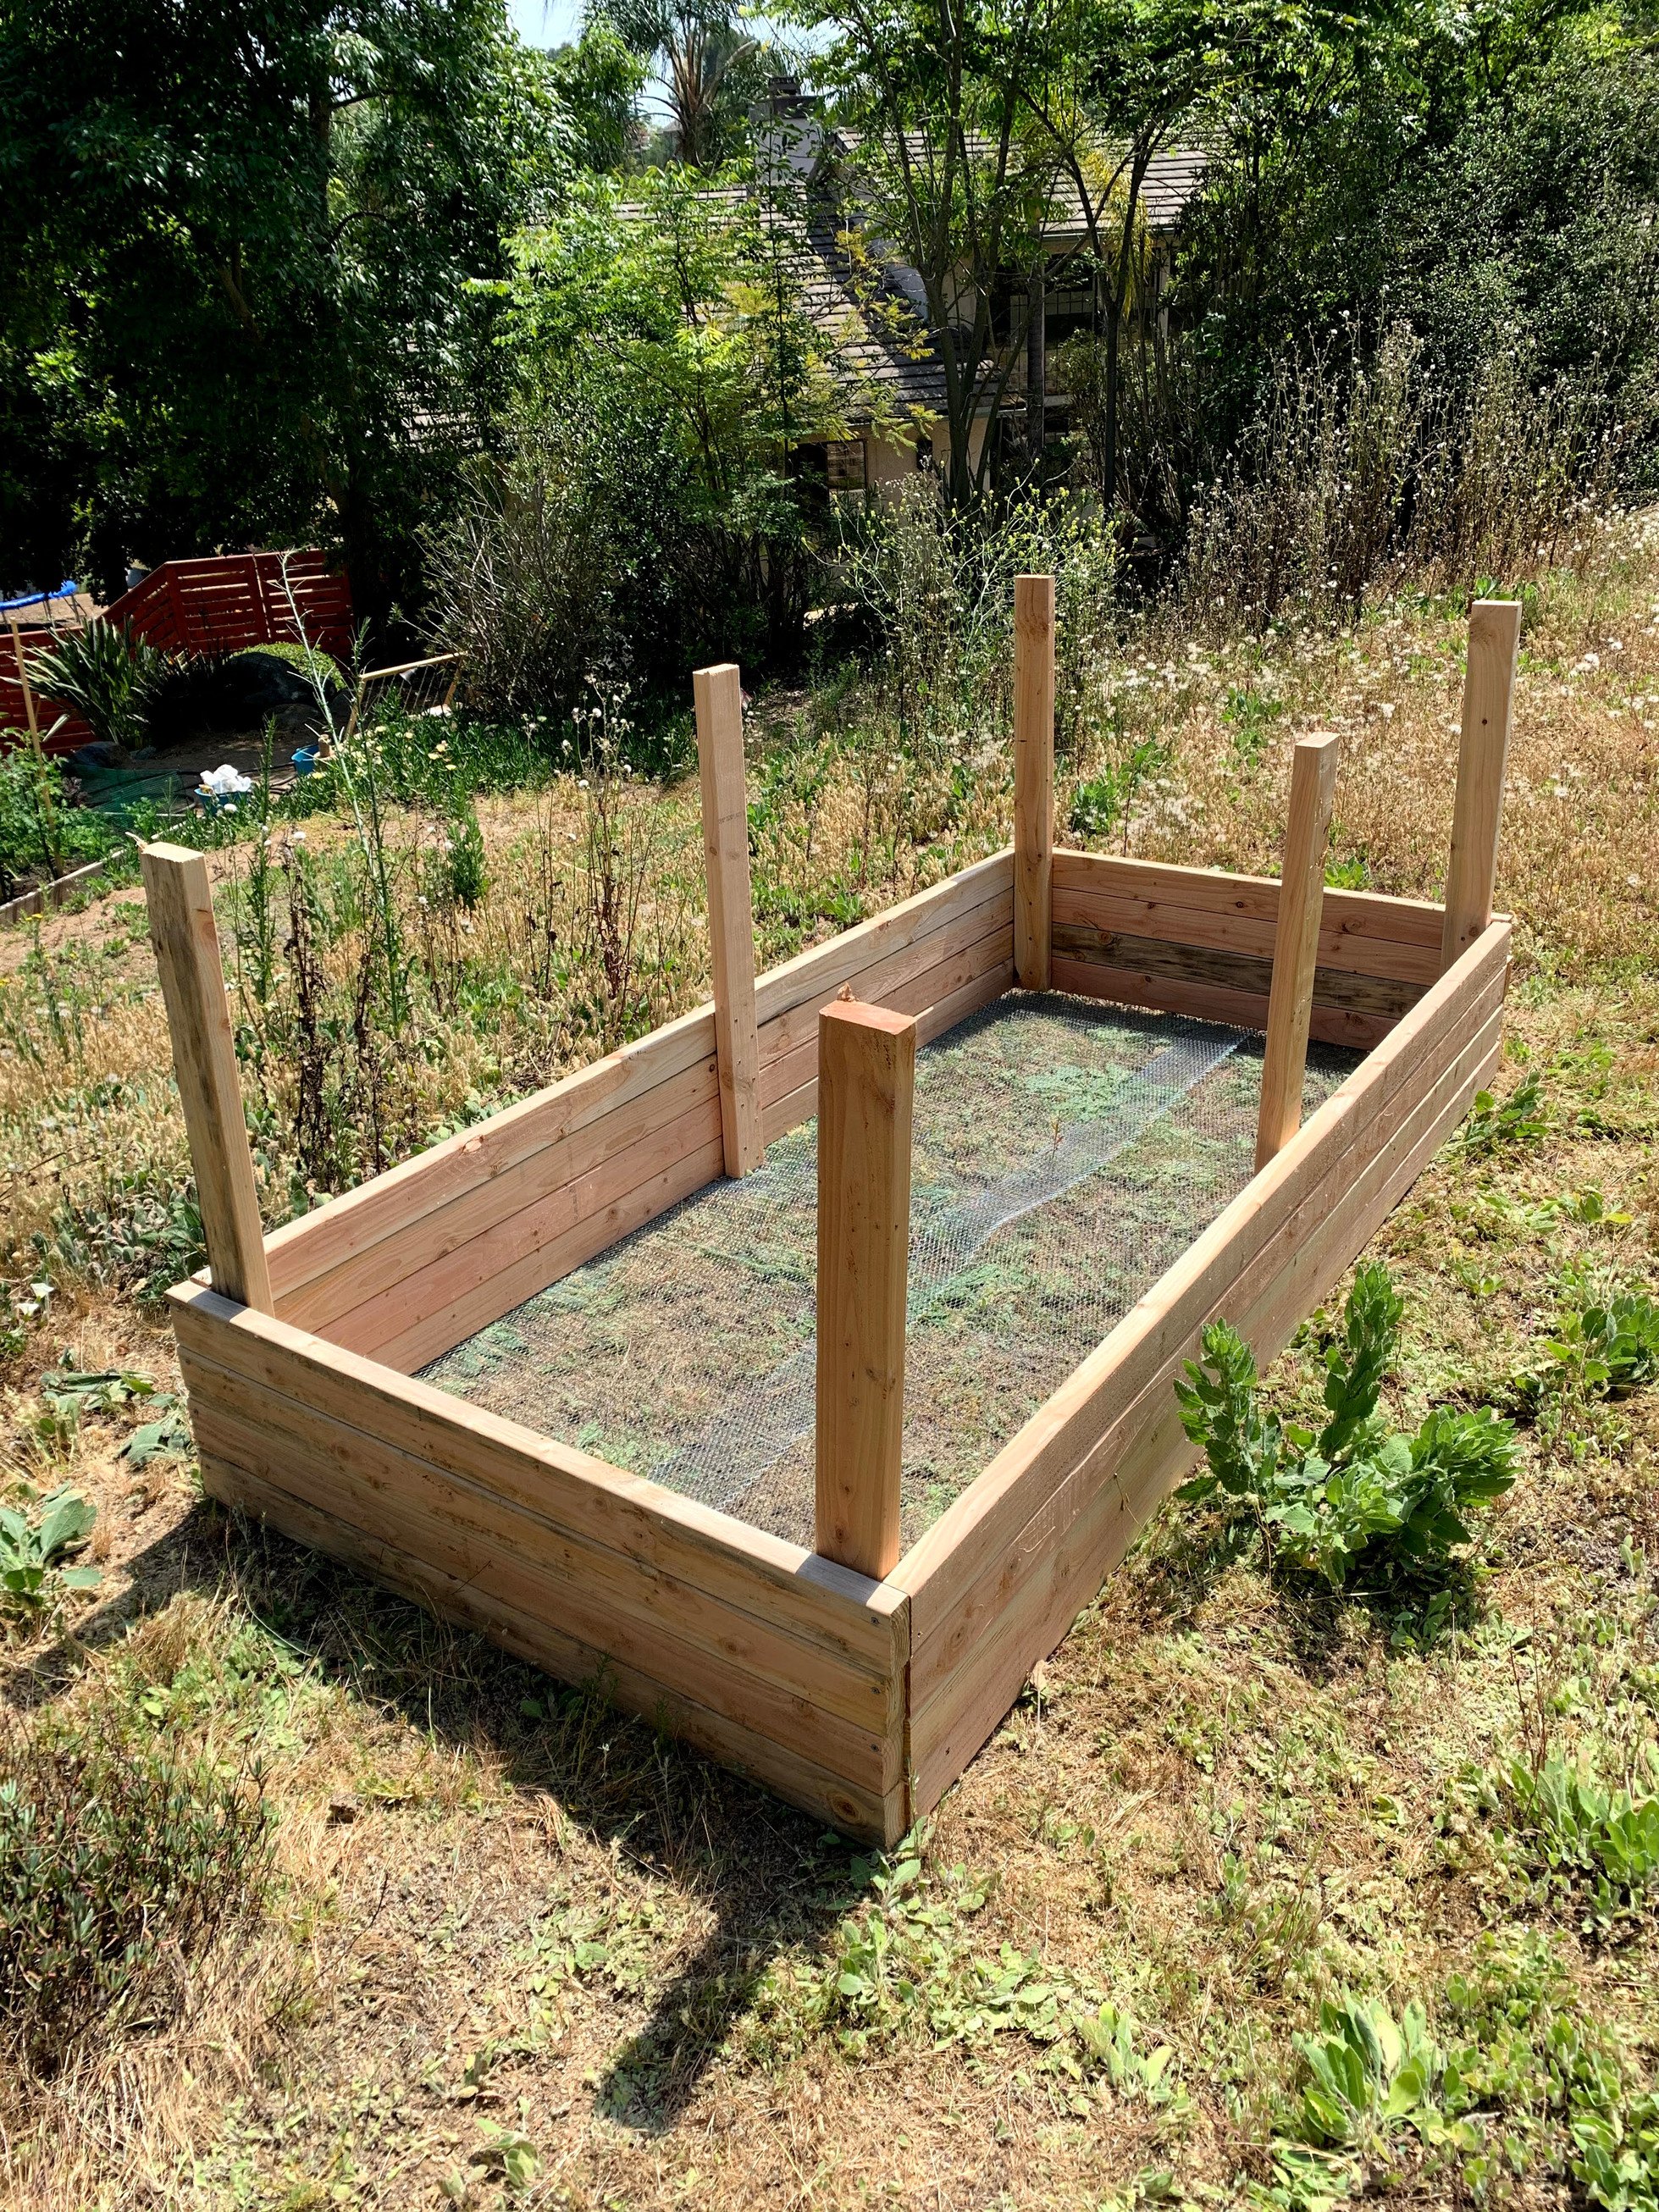
Lean the walls against each other to form a box. The support beams should stick out at the top, which will allow you to attach mesh later. The walls should stay self-standing for the most part in the general shape.
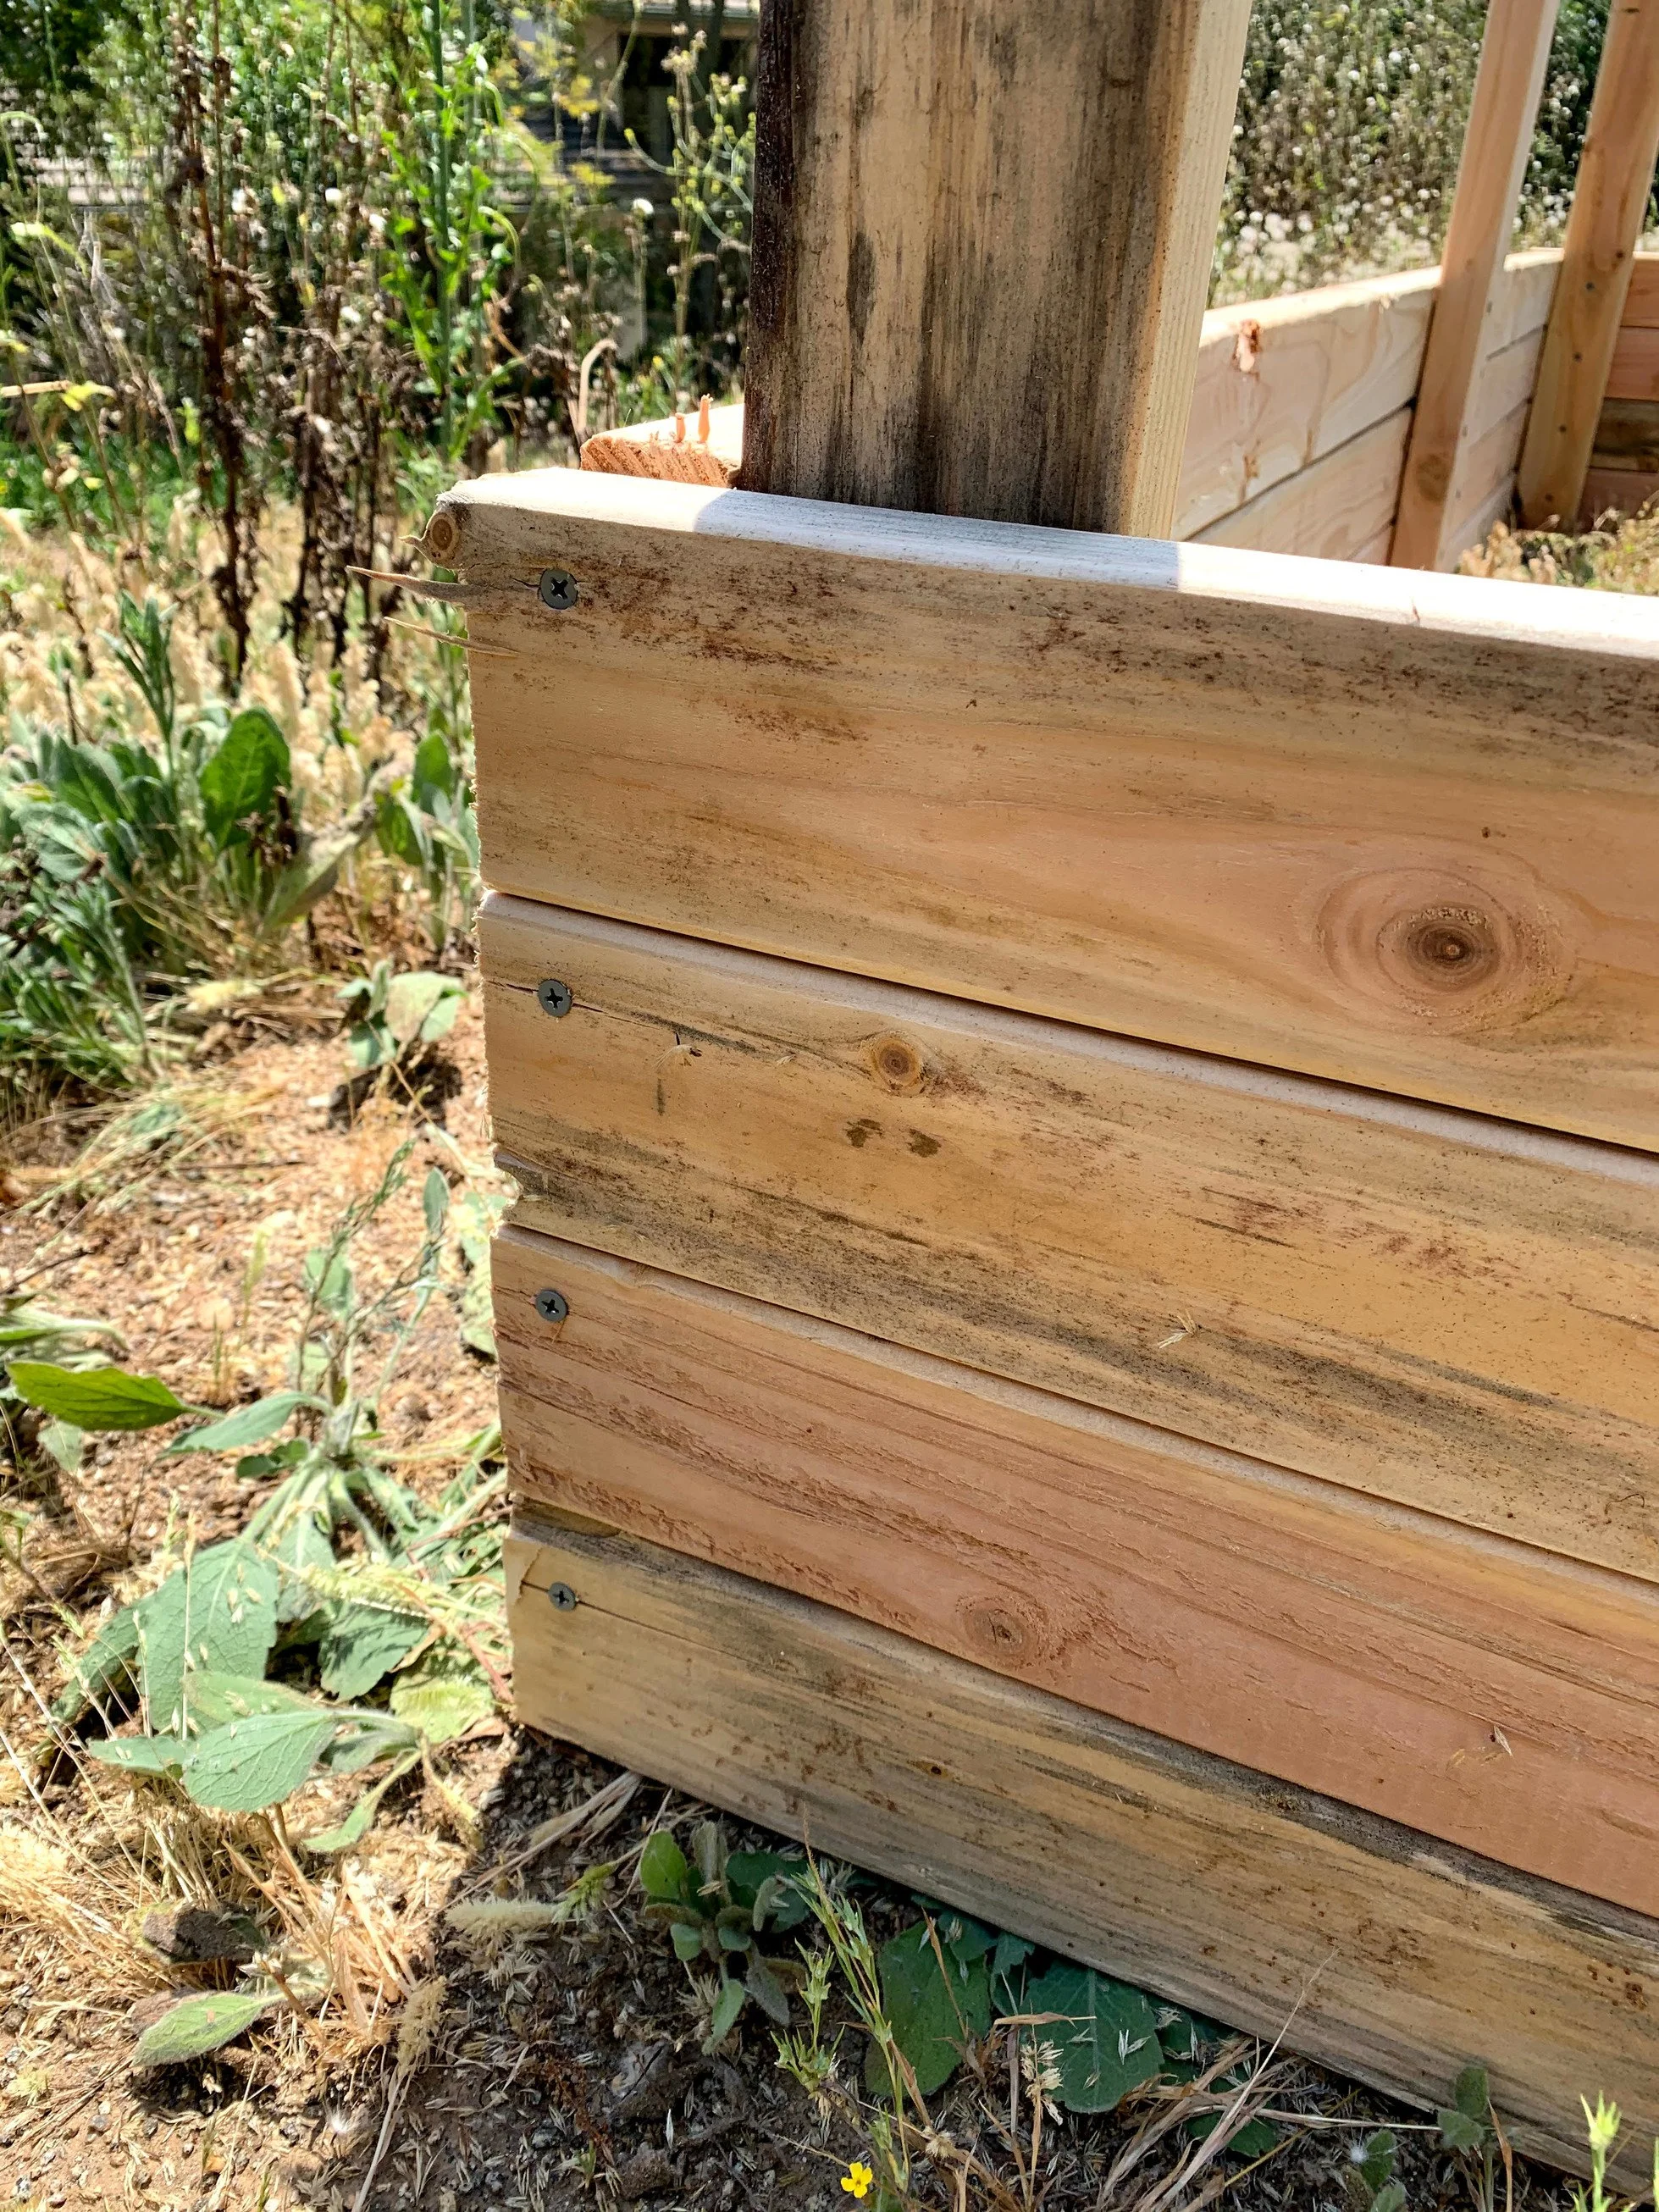
While another person holds the corner of 2 walls together, add at least 1 screw to each of the 4 boards. While doing this, be aware of where the screws from the initial wall assembly step are, so that you can avoid them. 1 screw per board is the minimum - depending on how you’re feeling, you can add 1-2 more per board to increase stability. I left ours with just 1, and it has held up fine so far.
Repeat with the other 3 corners of the box.
Add the bottom mesh.
Once the box is assembled, you’ll need to add steel mesh to the bottom of your box to keep the gophers out!
Flip the box on its side.
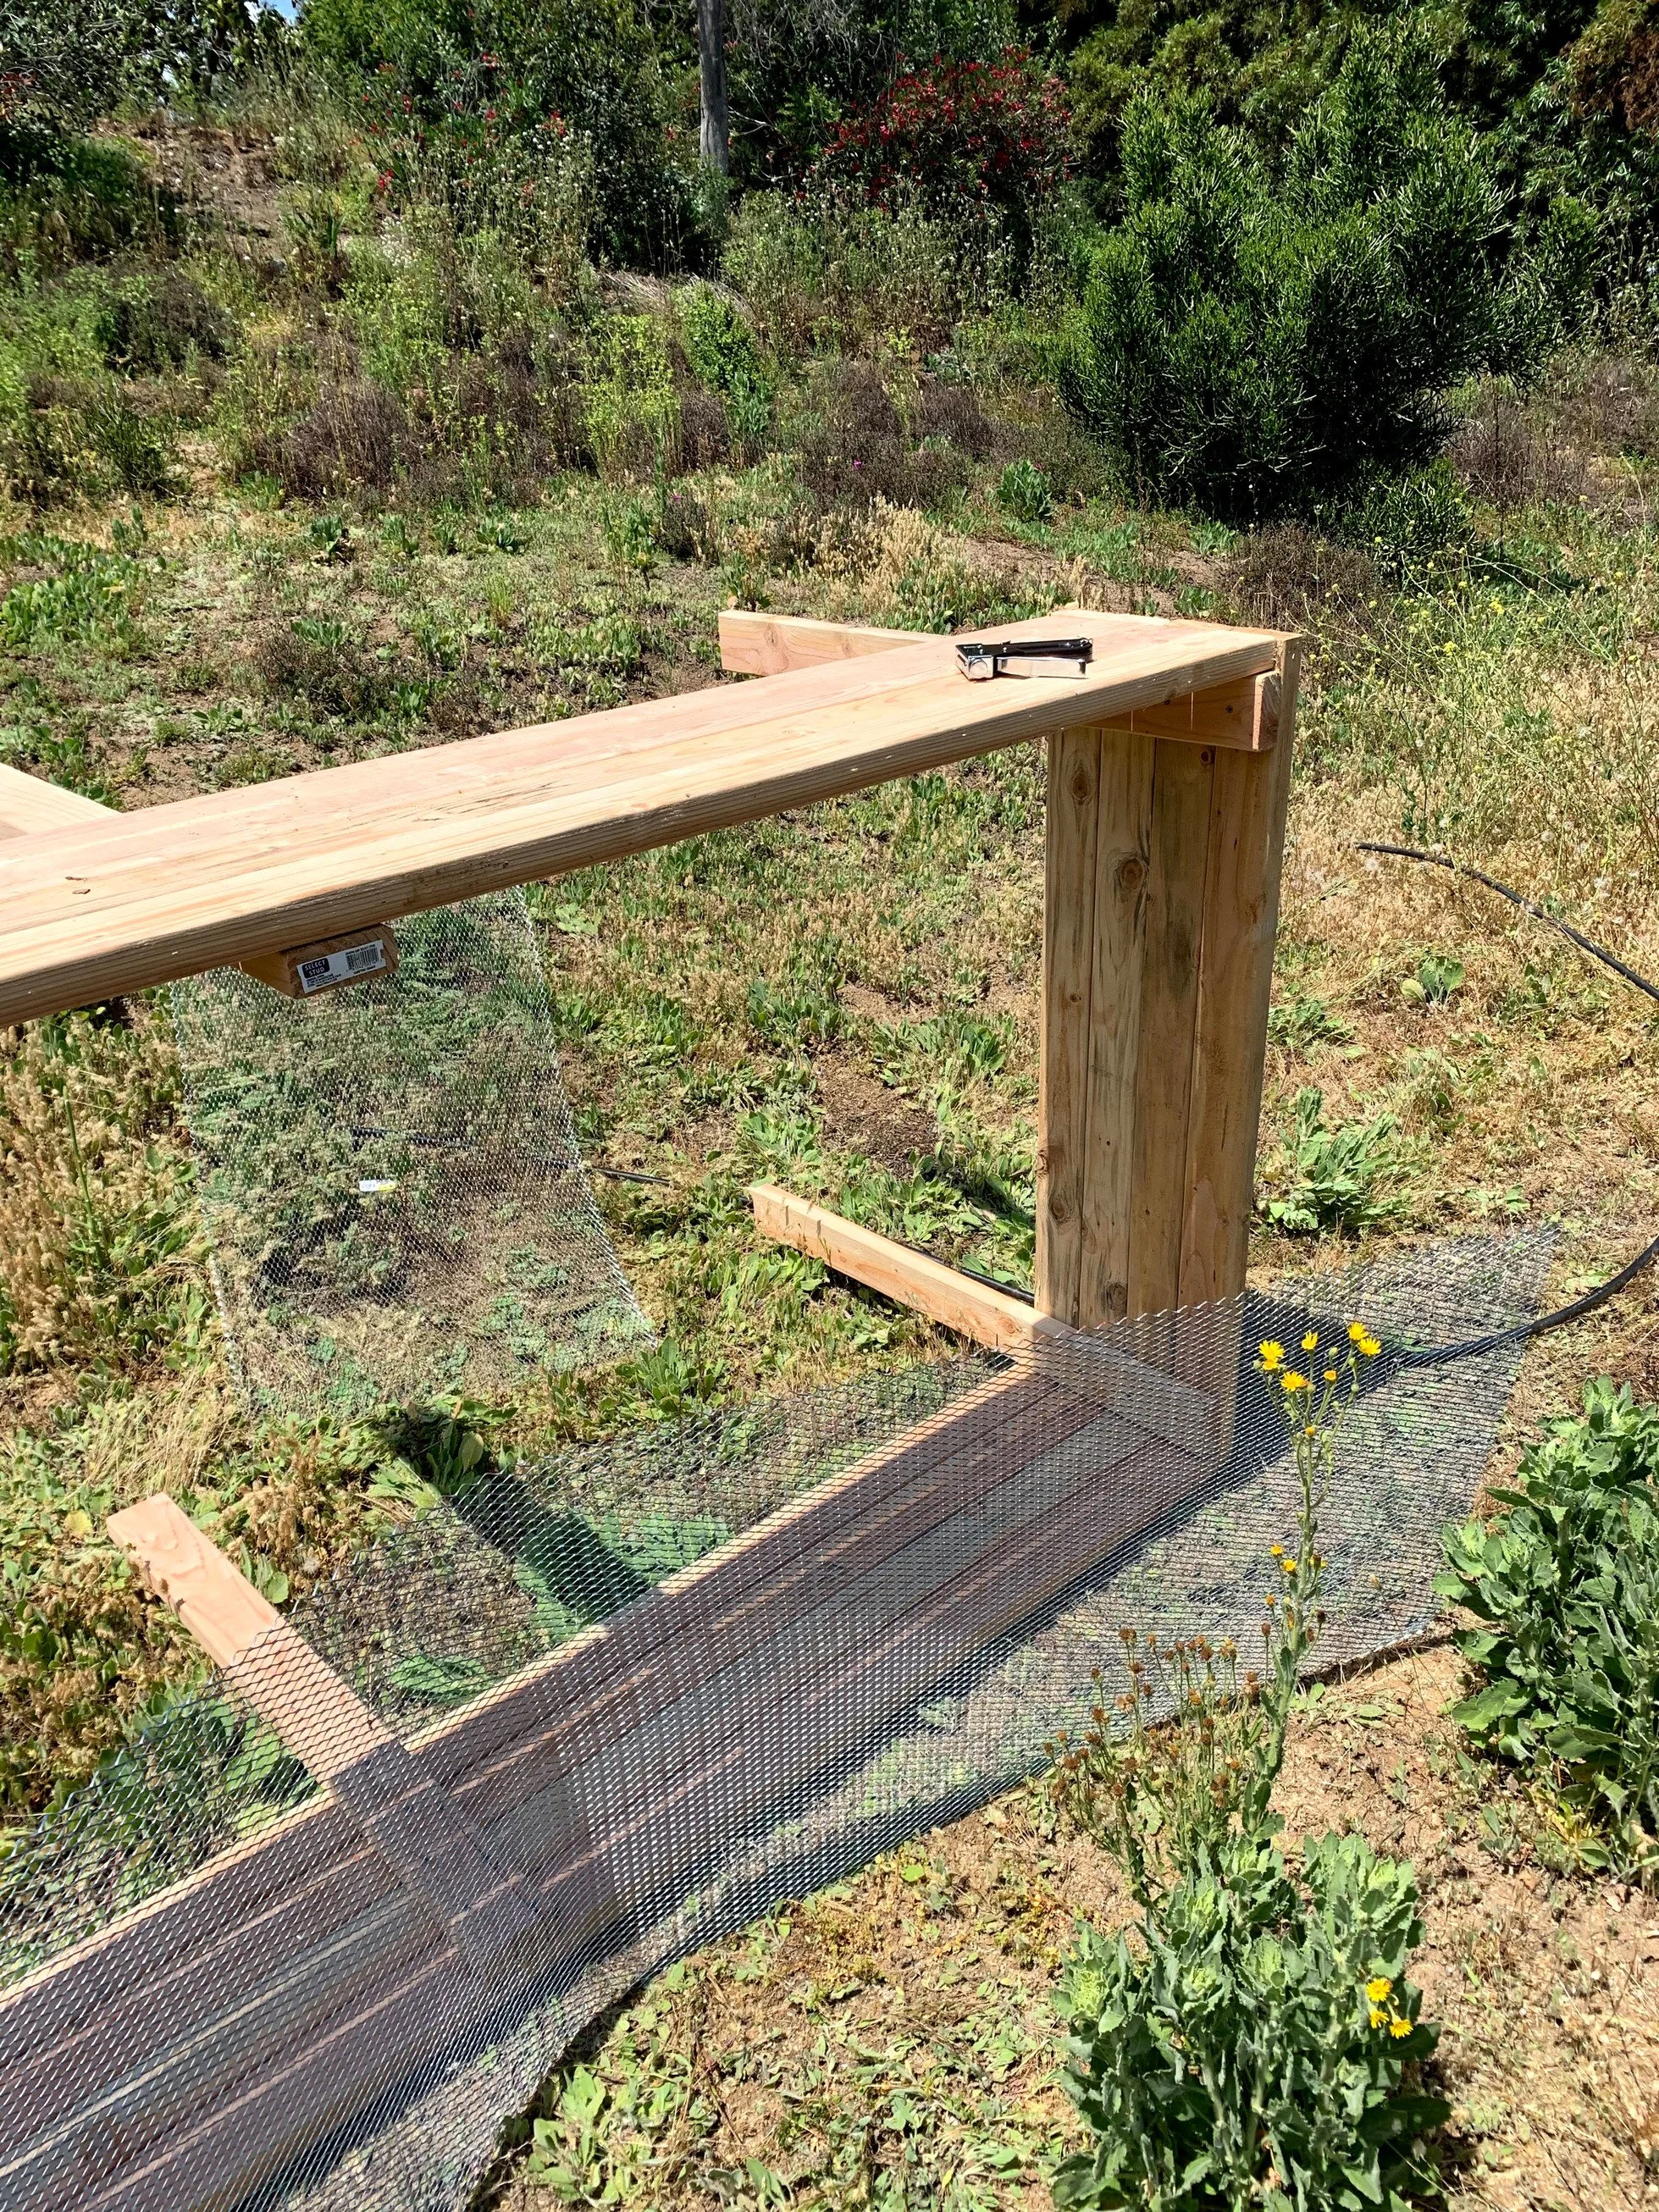
Align the steel mesh to one corner of the box, and have another person hold it across the 8’ side of the box.
Using a staple gun, staple the steel mesh to the bottom of the box, adding a staple every 4-6”.
Repeat as needed until the steel mesh covers the bottom of the box entirely. For our box, we had purchased approximately 2’ wide mesh, so we had 2 sheets that slightly overlapped each other.
Use zip ties to tighten the sheets of steel mesh where they overlap, so that no critters can get through between them. (We actually ended up using steel thread for this step before being advised by our neighbors that zip ties would have been much easier.)
Coat the bottom with cardboard or paper.
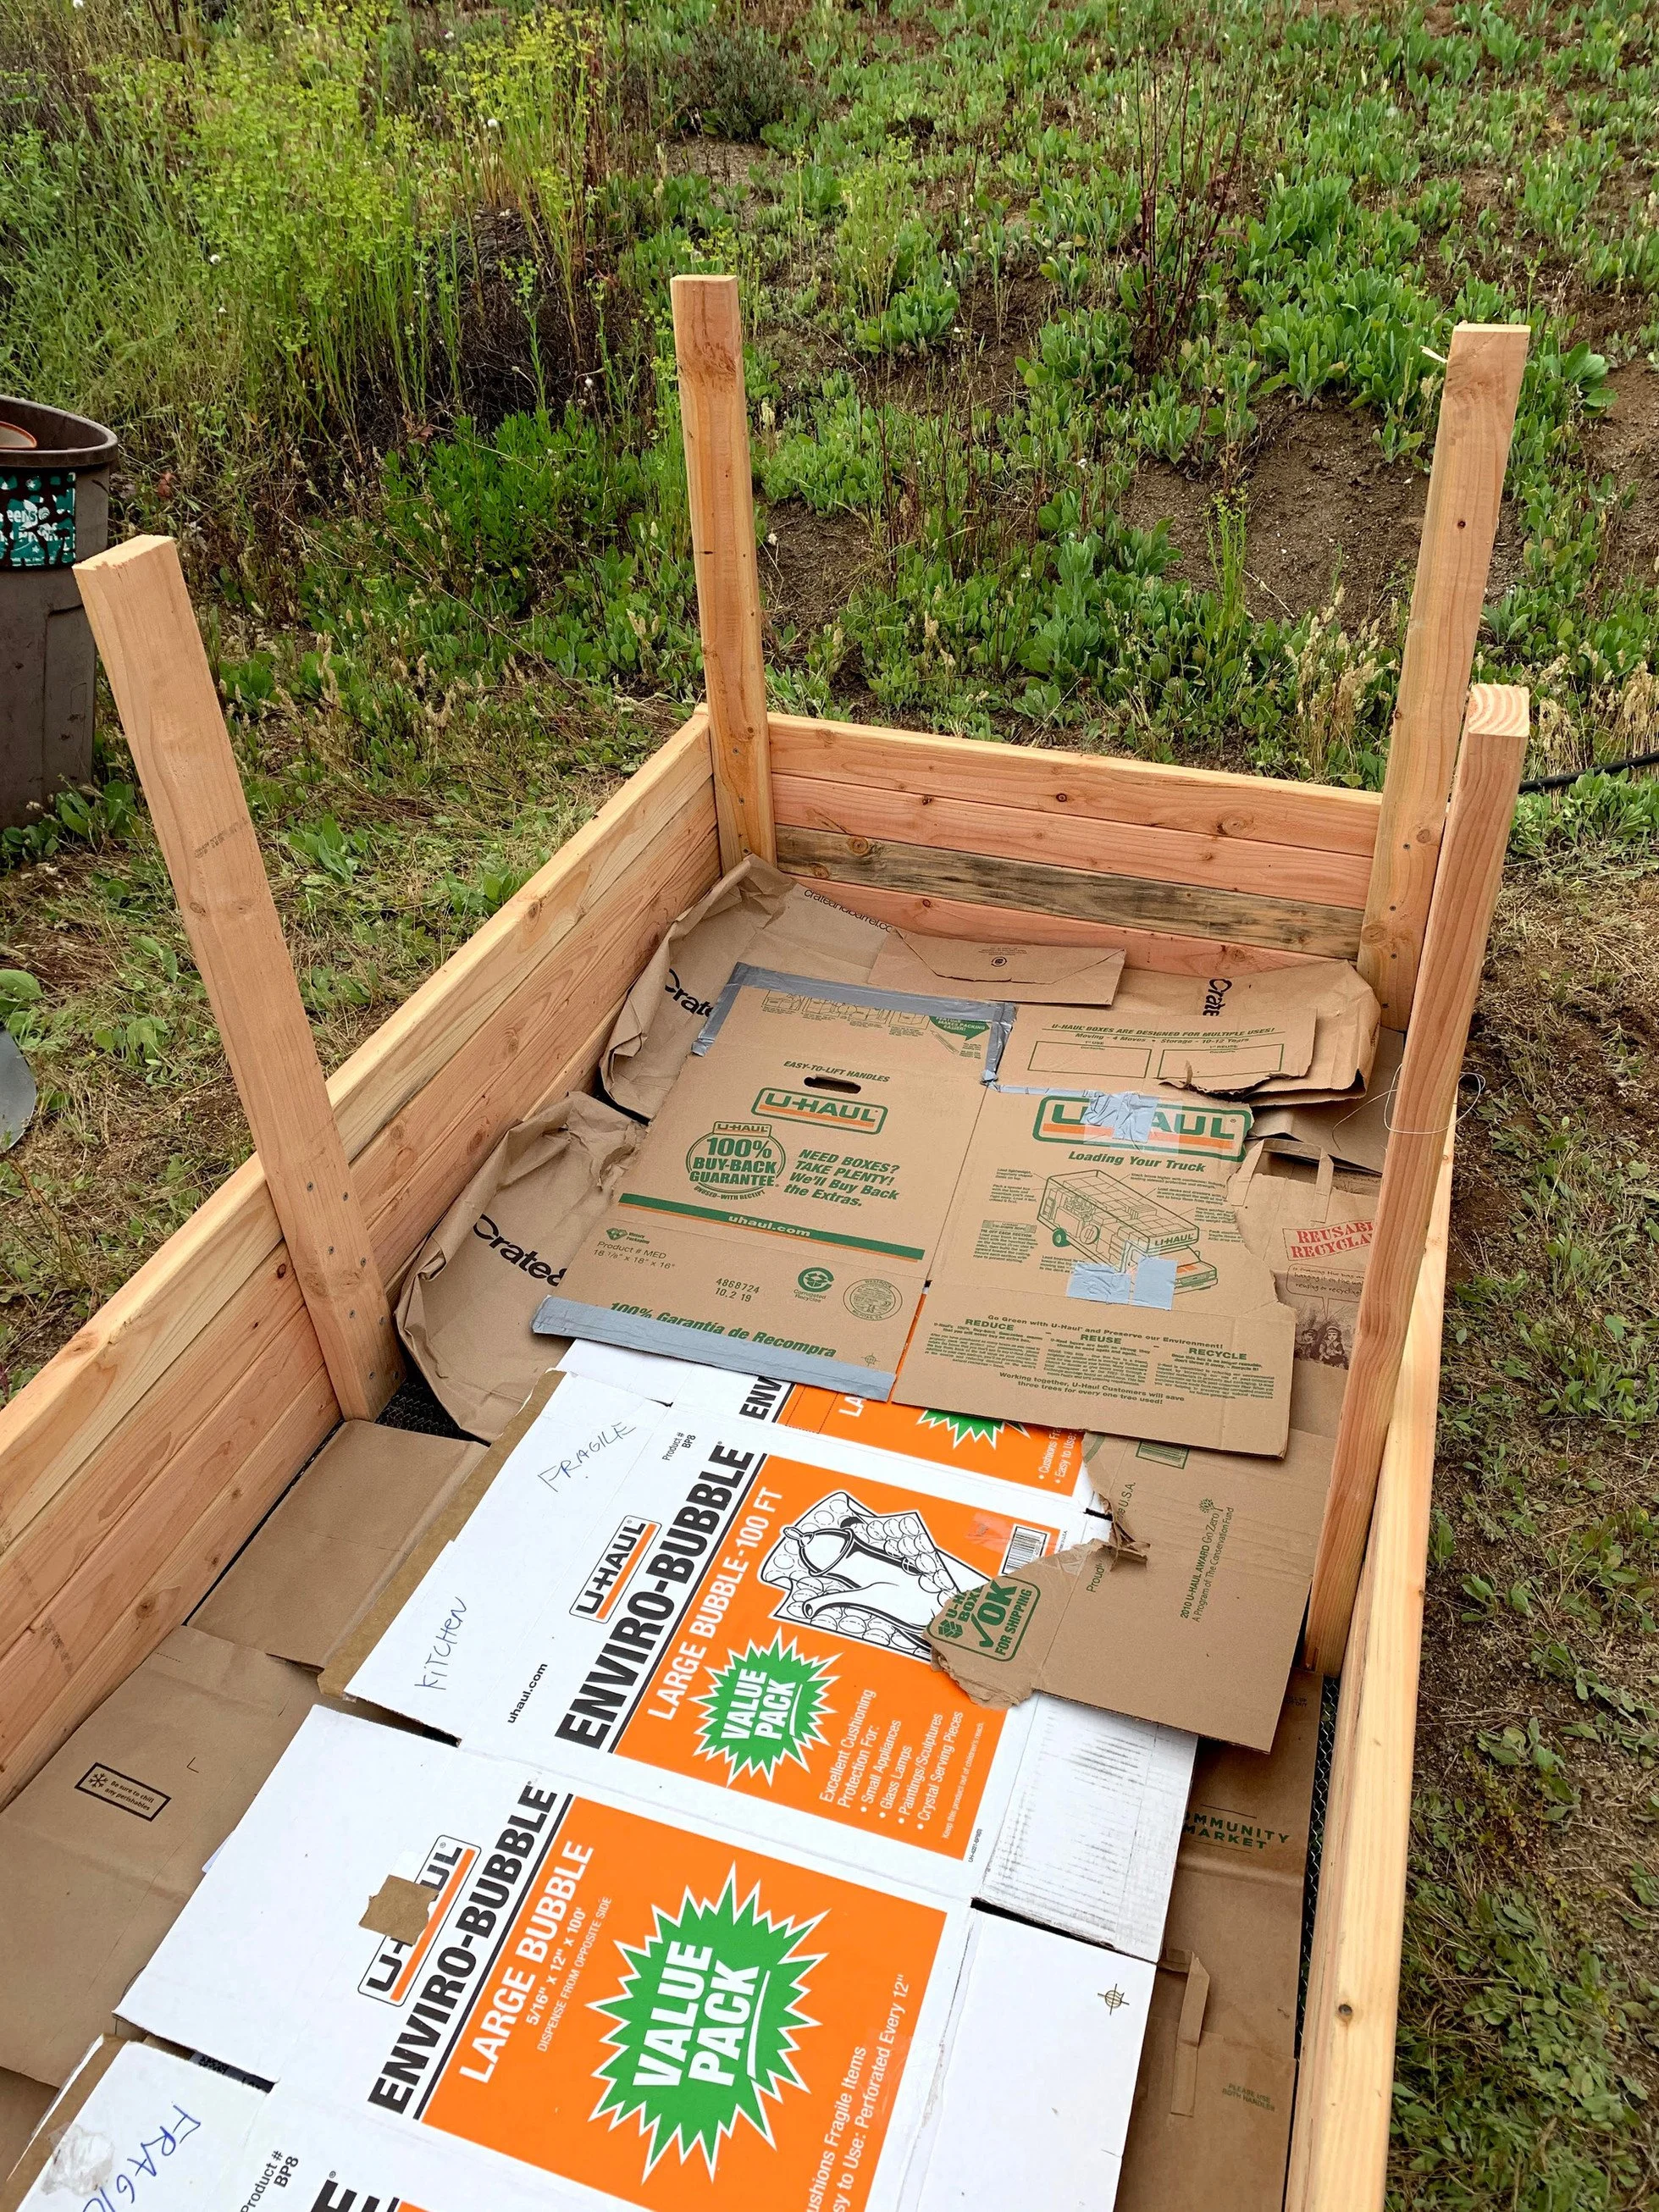
Once the box is assembled, flip it back right-side up and position it where you’d like. Then, add some cardboard boxes or paper grocery bags as a lining on top of the steel mesh. This will help to prevent weeds from coming up through your garden!
Add the chicken wire or plastic mesh.
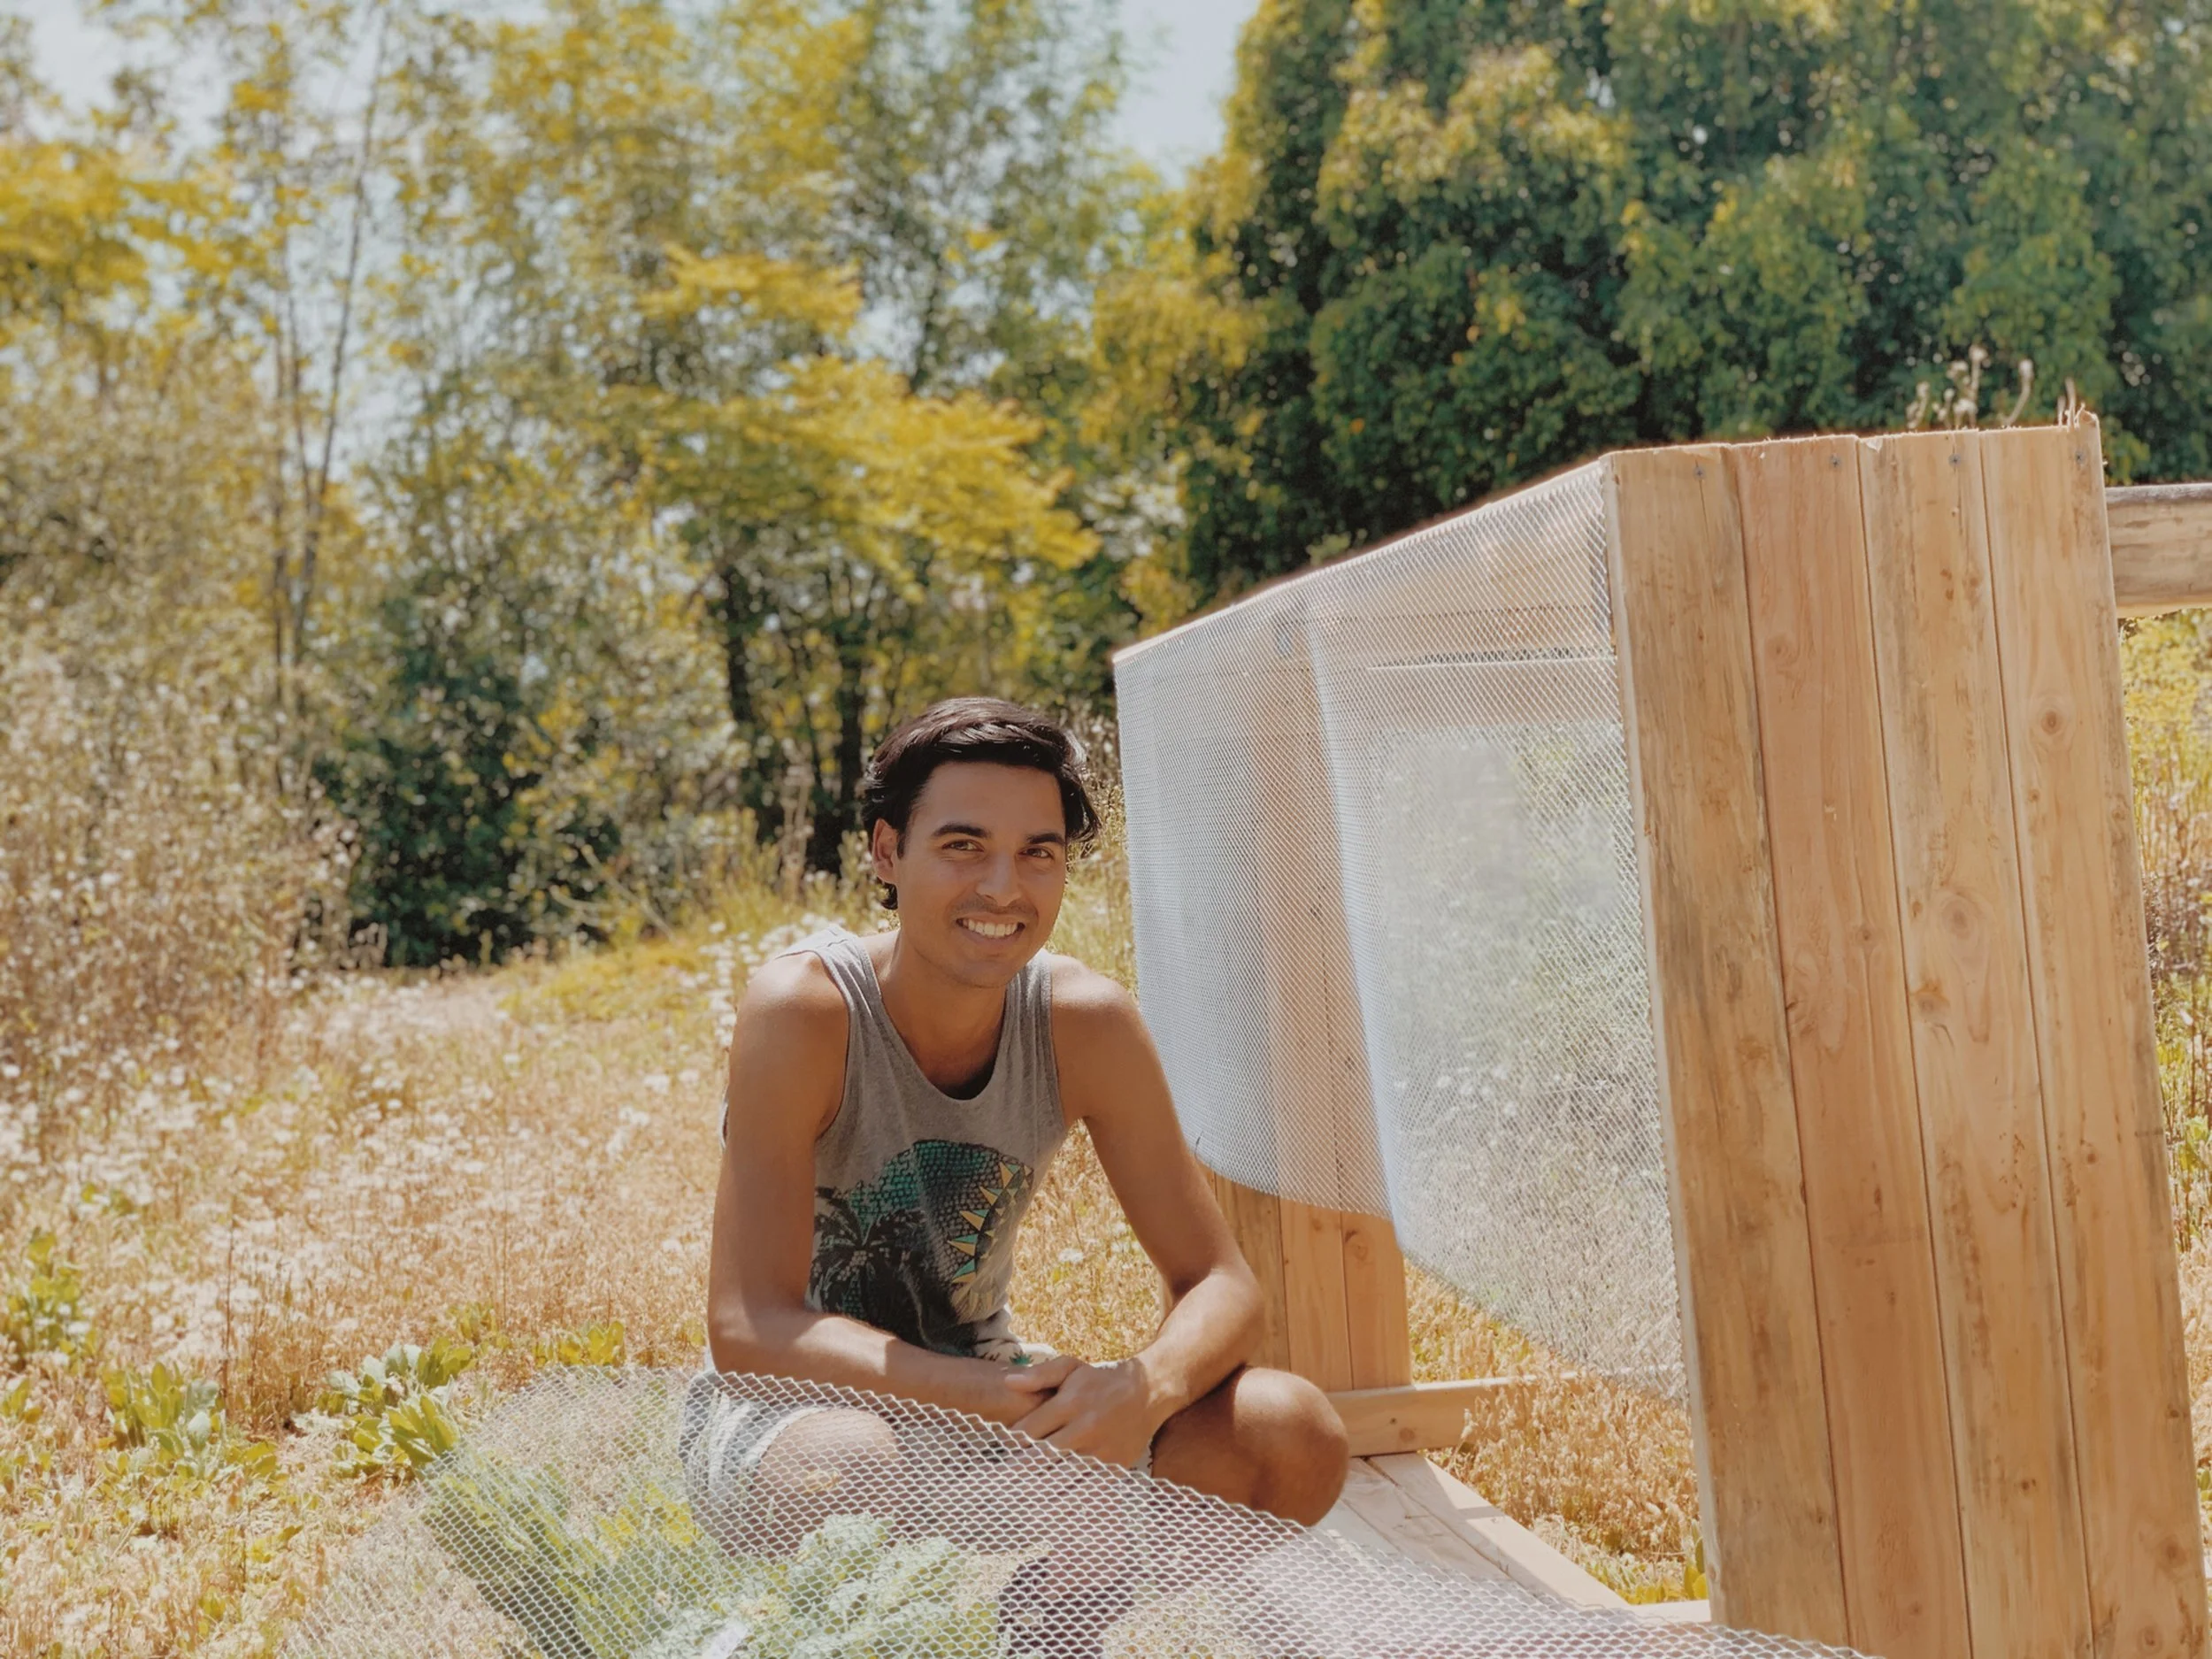
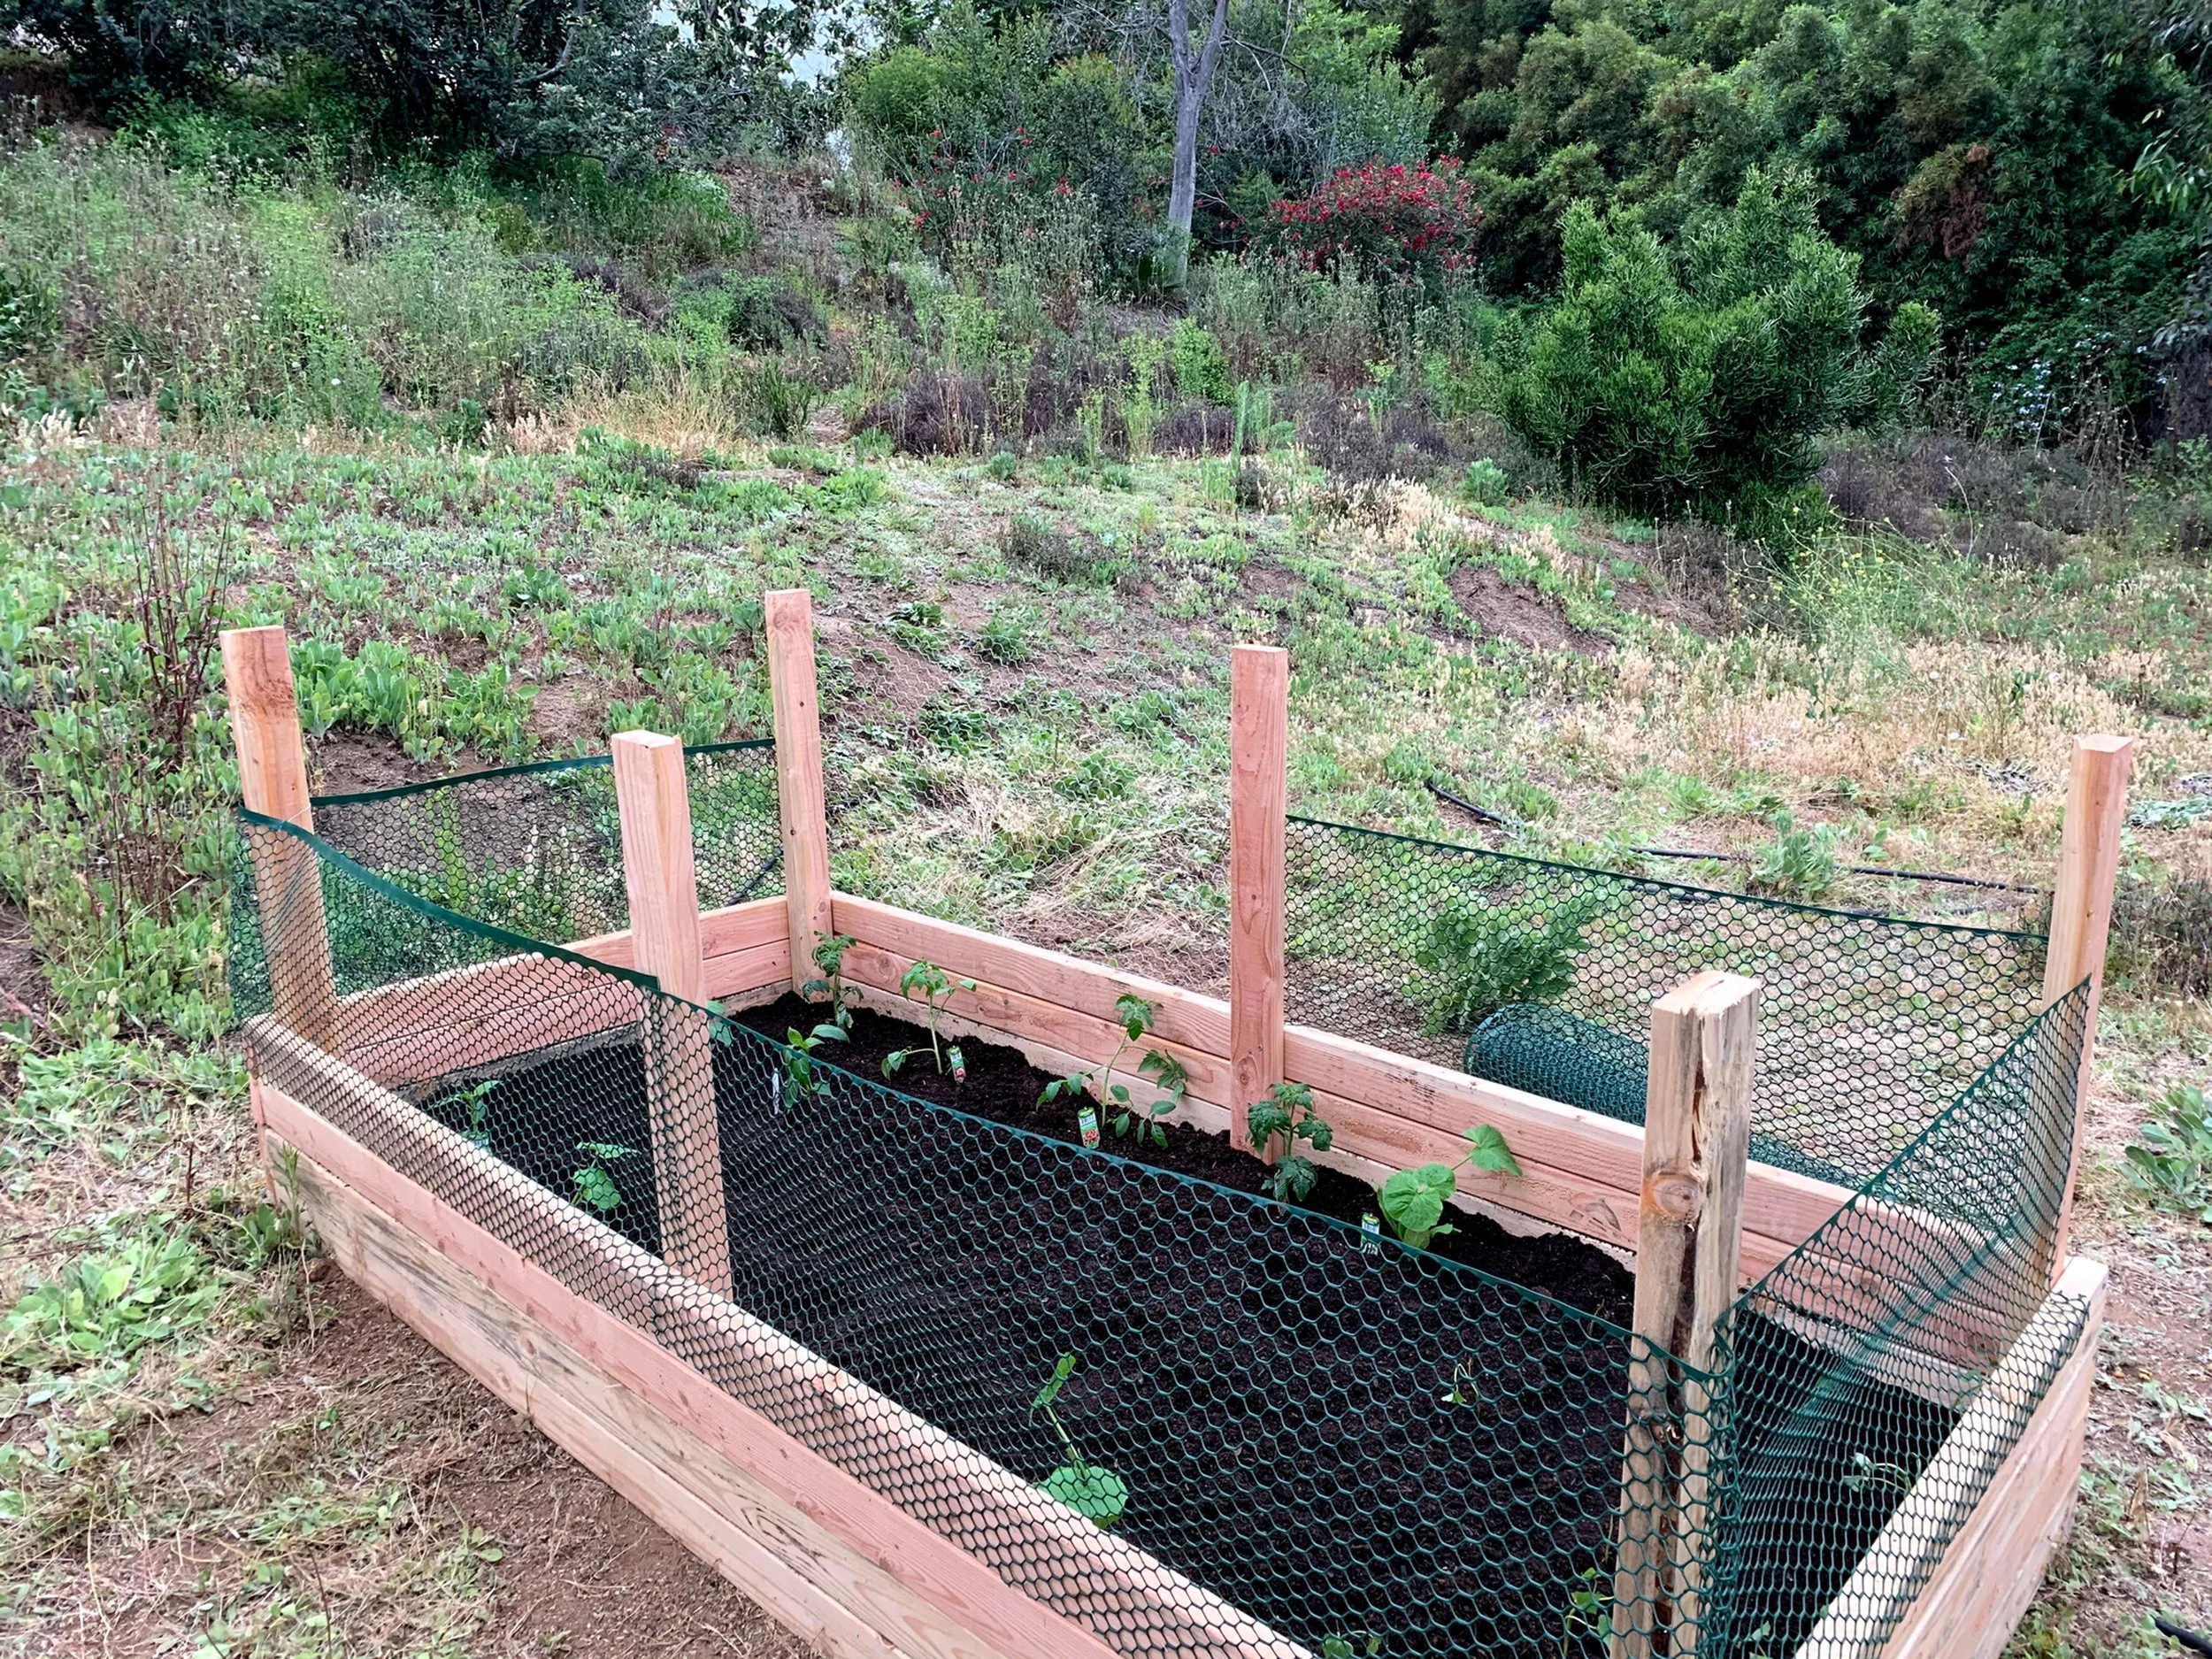
The last step to building your garden box is to add either chicken wire or plastic mesh around the outside of the box in order to keep other critters like rabbits out of your garden! This is done very similarly to the steel mesh, except this mesh is stapled to each of the pillar supports all the way around the box. You can also staple the bottoms of the mesh to the top of the walls for added security.
Add soil.
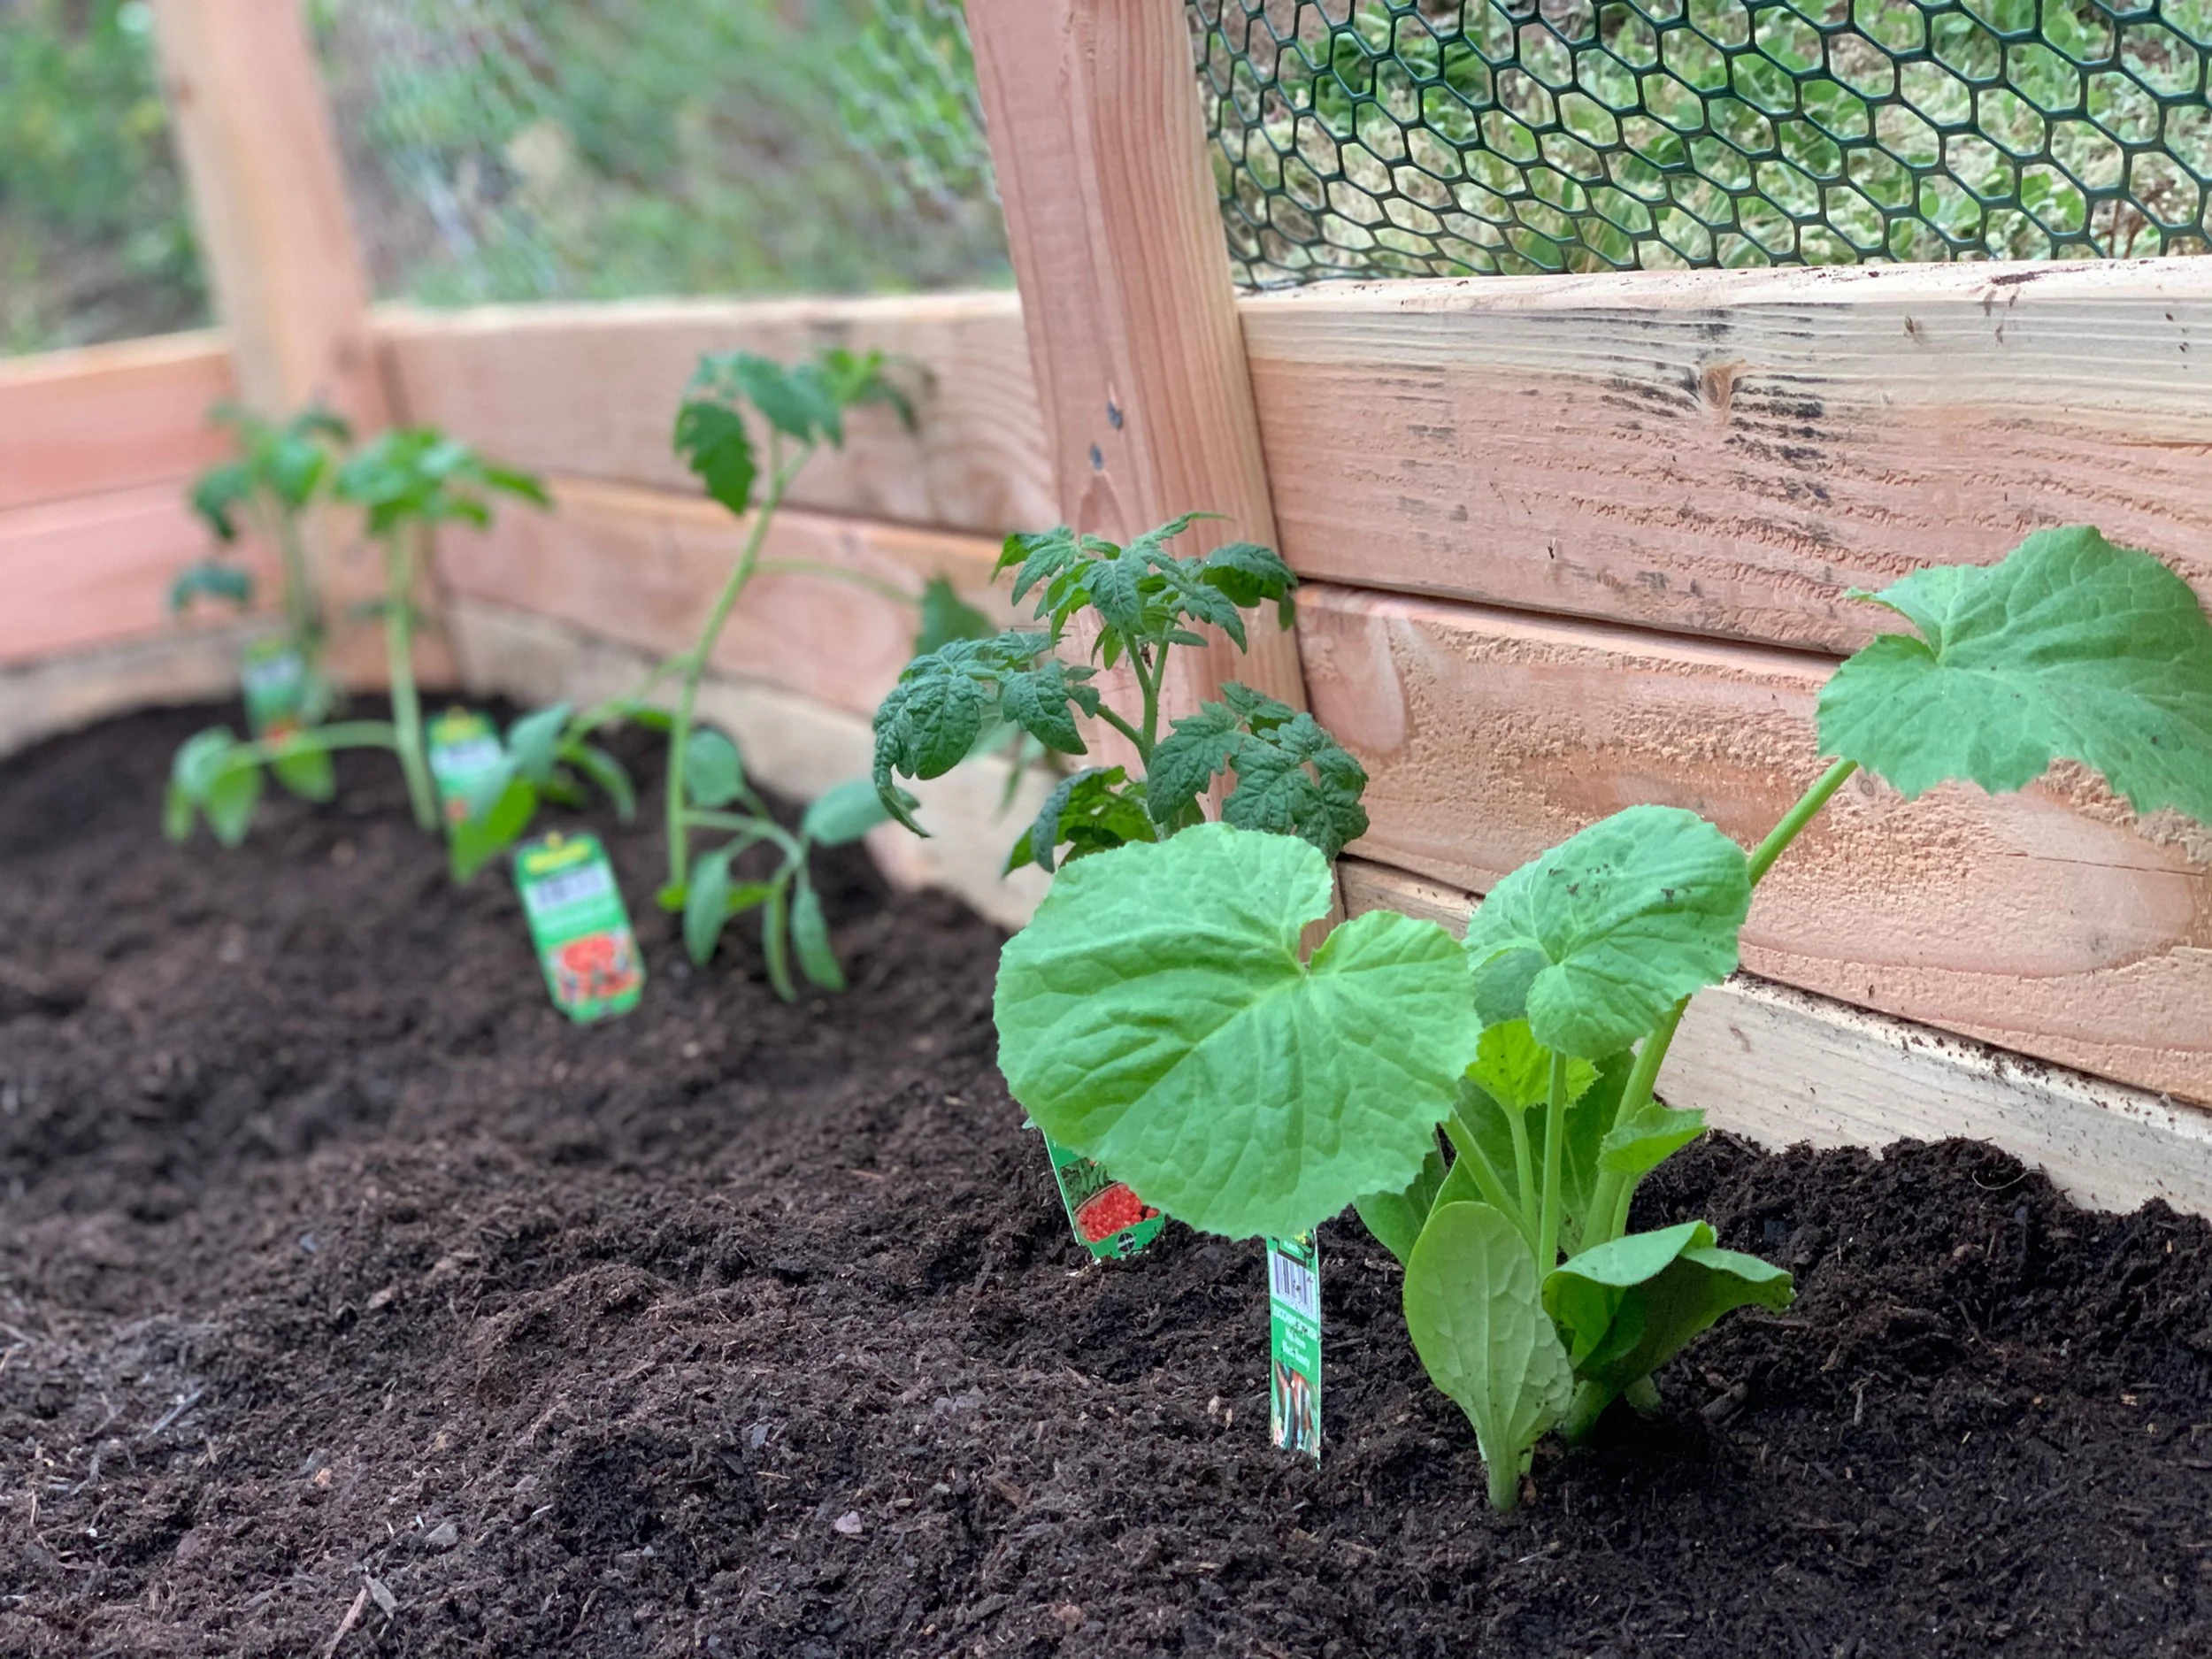
Now that your garden box is complete, simply add about 6” of soil to the box and get planting!
Have you planted anything this season? Let us know!

